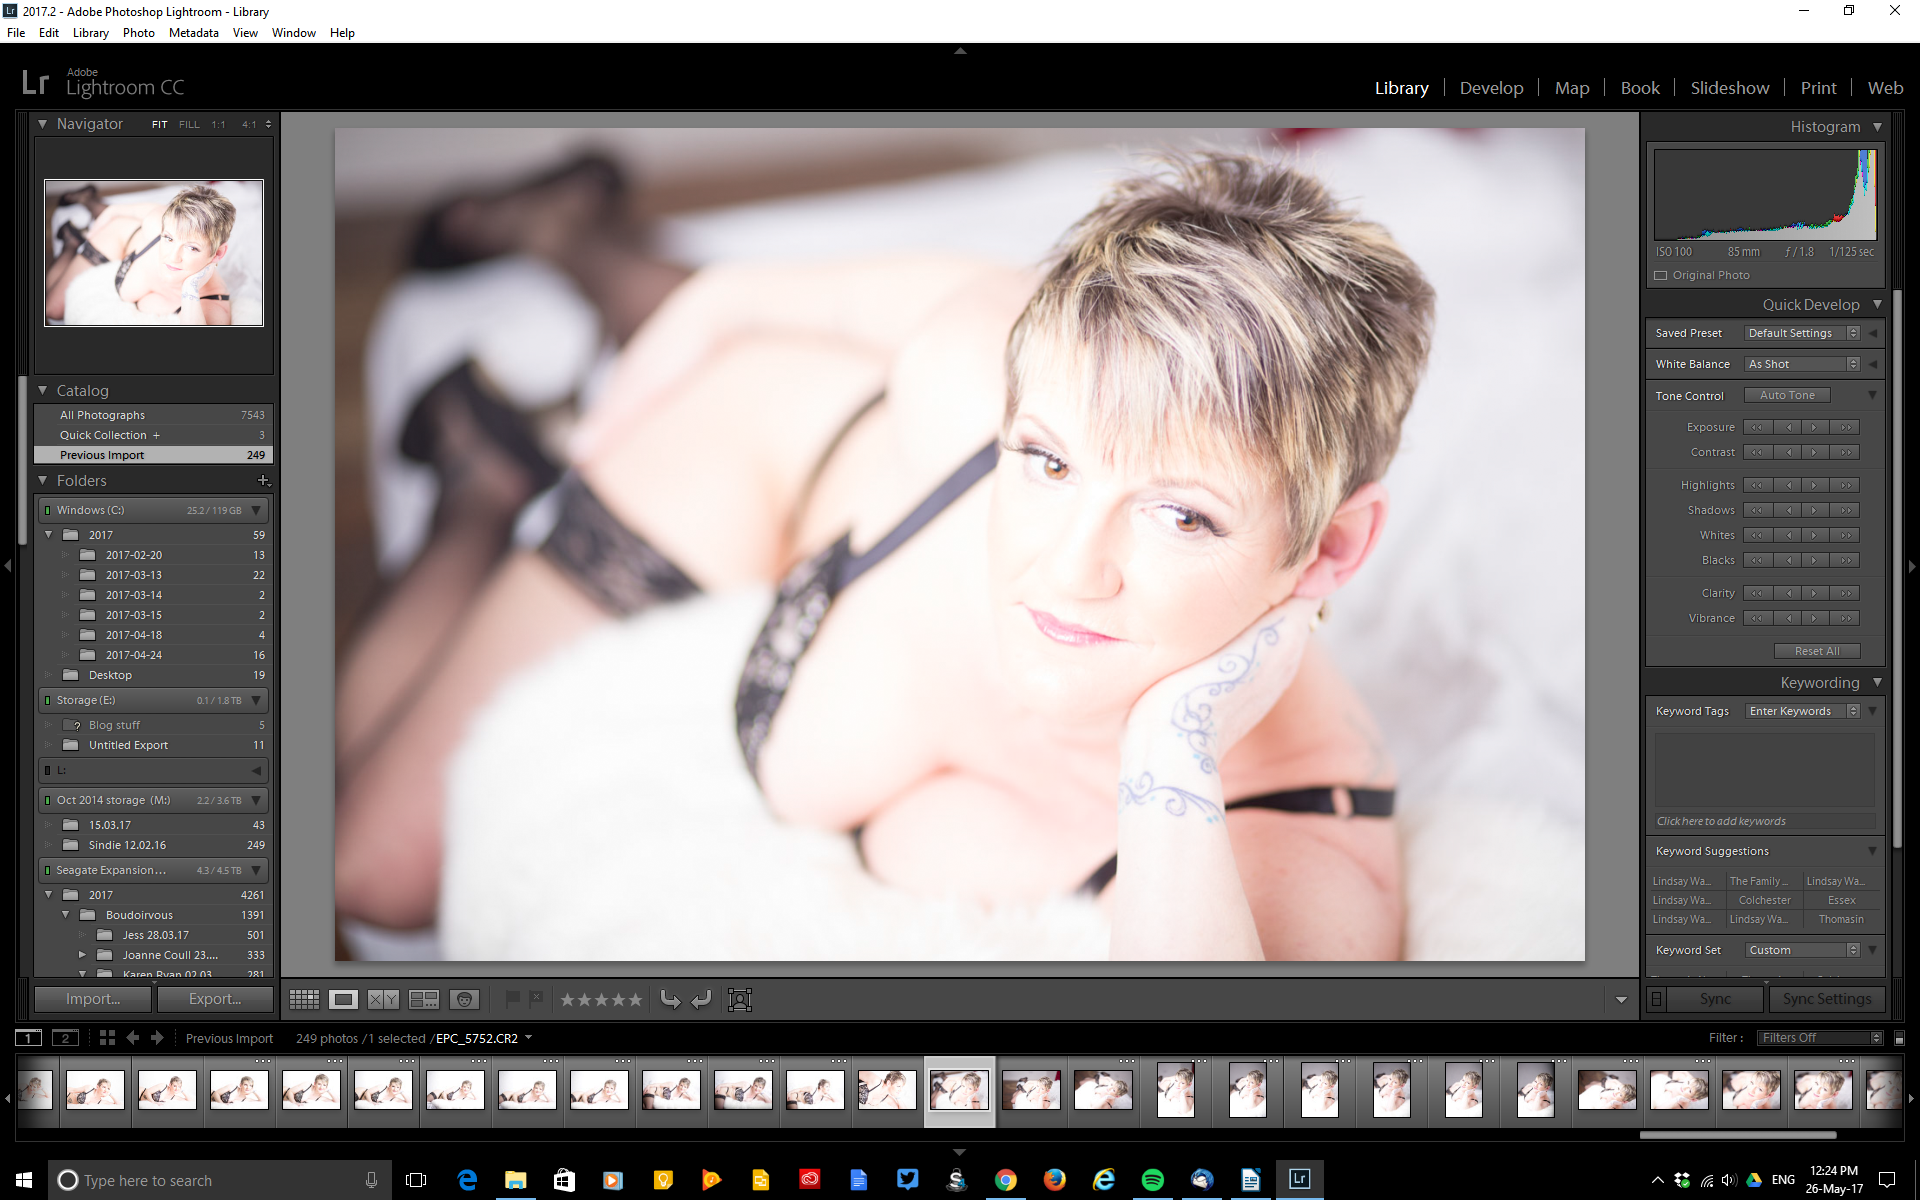
Sleeklens- Reviewing ‘Strike a pose’ portrait presets and brushes for Lightroom
Loading the presets and brushes was pretty straight forward, I thought I knew how to do it but couldn’t quite remember the steps. I was glad that Sleeklens had sent me over very clear instructions on how to load them into Lightroom. The package comes with 70 Presets which include all in one changes to your image, base changes, exposure adjustments, colour correct, tone/tint, polish and one of my faves vignette and 62 brushes include all kinds of handy make-up tools from adding eyeliner to defining hair.
Once I knew the presets and brushes were loaded I chose an image taken outside and a studio shot to see how I could use the Sleeklens Portrait workflow to enhance my images.
Original Image:
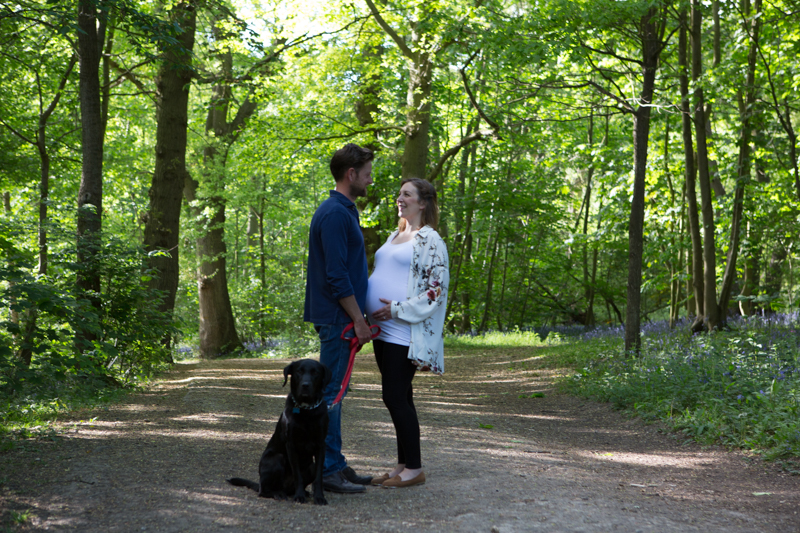
I wanted to brighten the image above as it all seemed too dark so in the Presets on the left hand side of Lightroom I applied ‘Exposure-Brighten’ then wanted to warm the image up a little by adding ‘Tone/Tint-Warm-up’ then added ‘Vignette- Black Dreamy’ to bring the attention back to the centre. The Presets are easy to apply you can just click or undo if you don’t like the adjustment you just made you can go back either in the history panel to the left of Lightroom or go to ‘Edit’ top left and click ‘undo’.
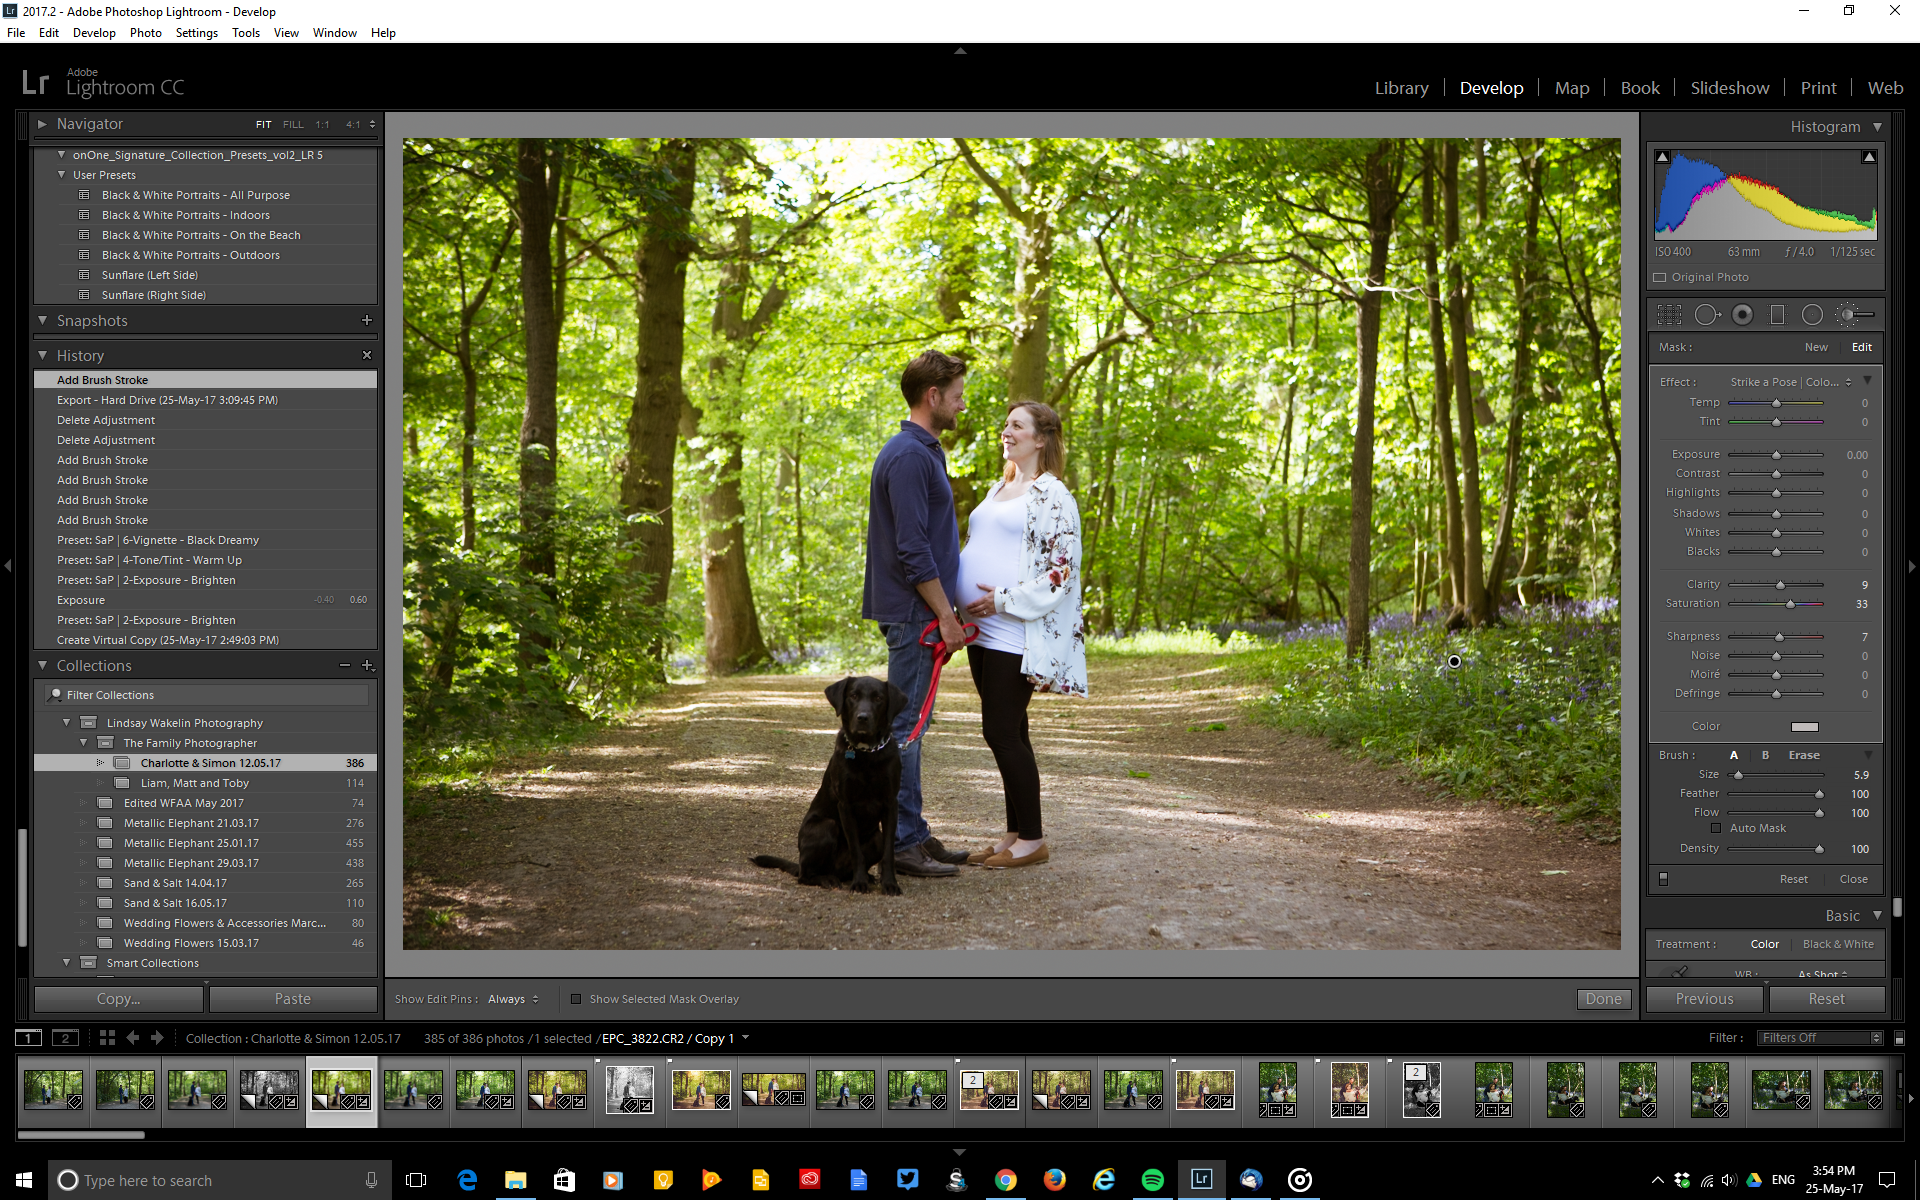
I am not sure if it is just my wheel on my mouse but when I clicked on the brush tool I have to use the up and down arrow in the brush window I can’t use the wheel on my mouse to scroll through the brushes which takes a bit of extra time and is more clunky than just scrolling up and down the choices, but I think that might just be my mouse it is quite old after all!
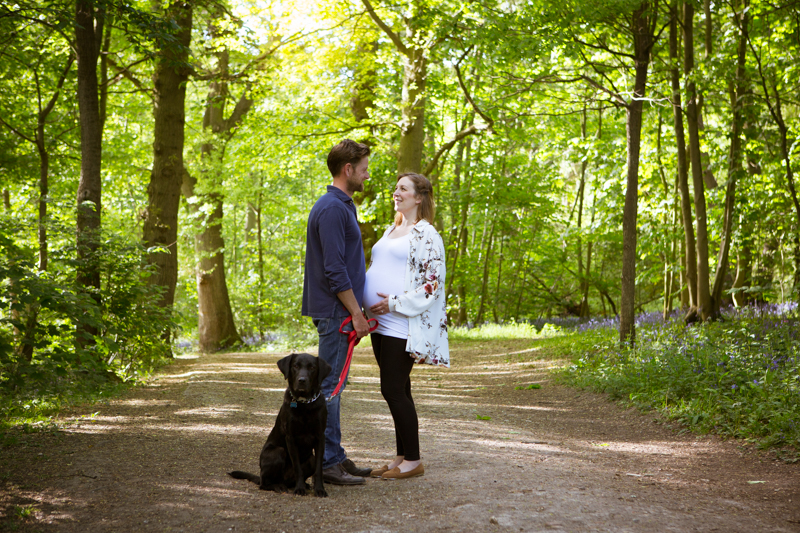
I used the brushes on the right hand side to choose some finer adjustments I wanted to apply, I darkened the dog and and black trousers by using the ‘Darken Shadows’ brush I also added some extra saturation with the ‘High Saturation’ brush to apply on the right of the picture just to bring it a bit more to life. I also wanted to add a bit of a golden glow in the gap in the trees as that looked a bit pale and washed out so I used the ‘Haze-Golden’ brush and just painted circular brush stroked to add some sunny warmth to that gap in the trees.
I also used the ‘Base- Auto Tone Black & White’ preset as I wanted to see what the black and white would look like. Black and whites can vary so much but I liked how this one converted using the preset often they can be too bright or too dark so you have to tweak until you get the tone you are happy with but I was pleased with this result.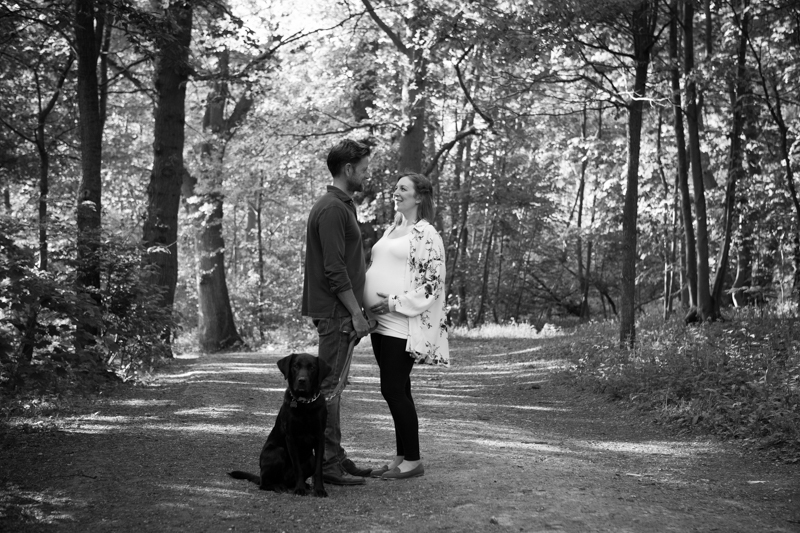
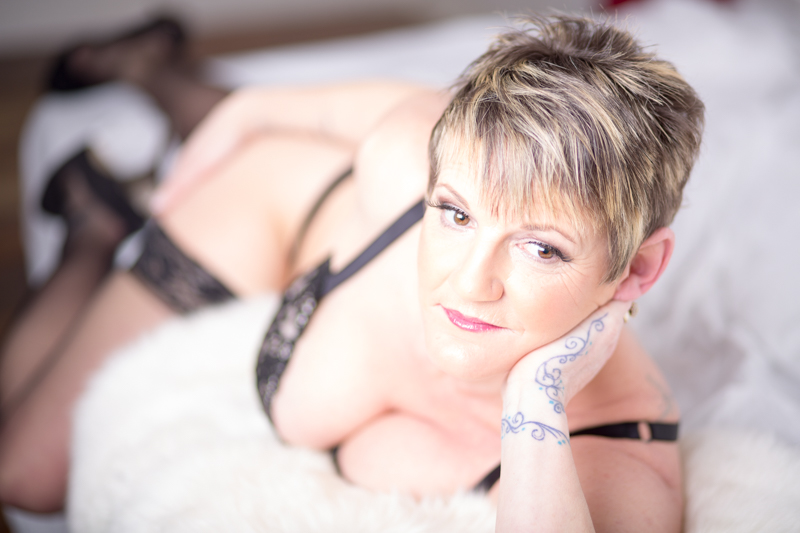
Next an image I took in the studio, I chose an image which was very shallow depth of filed and almost washed out in appearance. I wanted to see how I could improve it and bring it back to life.
Original image:
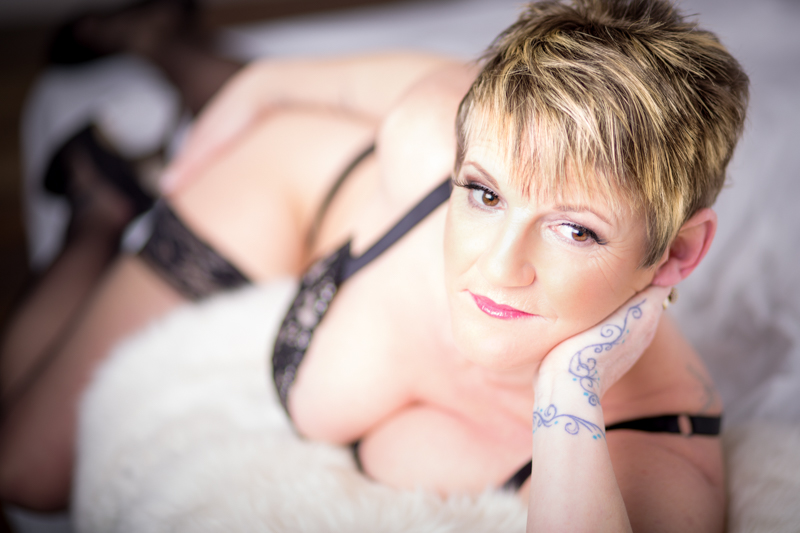
The first things I applied from the presets were ‘Auto Tone’ preset which instantly gave it more oomph and depth of colour, I added the ‘Vignette-Black Dreamy’ to add more contrast to the edges of the image then used several brush tools to enhance the face.
I used the following face brushes to add some extra definition: Reduce Wrinkles,Rosy Lips, Define Blonde Hair, Portrait Punch, Darken, Add Contour To Cheeks, Add EyeLiner, Reduce Highlights, Subtle Smooth Skin, Sharpen Face (to brush over her eyes). The image now looks warmer and has more depth without losing it’s soft feathery feel.
I was surprised by the number and variation of the brushes, I like how they are grouped into categories so they are easier to find. It meant I had to spend less time going to Photoshop and back as I now have a better selection of tools within Lightroom which are so easy to use. I tried using the presets and brushes on other images and found they can be used for all sorts of portraits inside and out, I am chuffed with my Sleeklens presets and brushes as they give me fast easy options to use with my Portrait Photography but also my Boudoir and Family Photography.
To find out more about Sleeklens go to – Tutorials, Presets, Pinterest.