Headshots & portraits at my studio and on location…
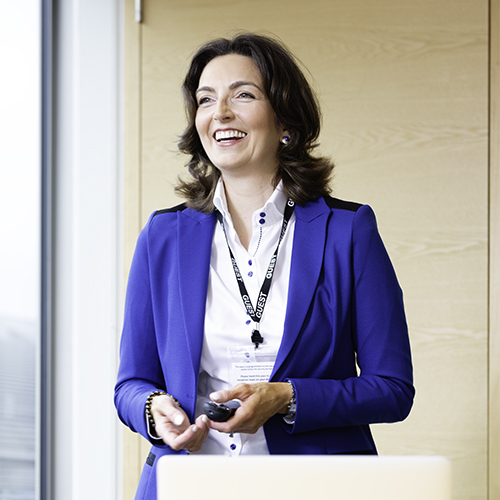
On location portraits 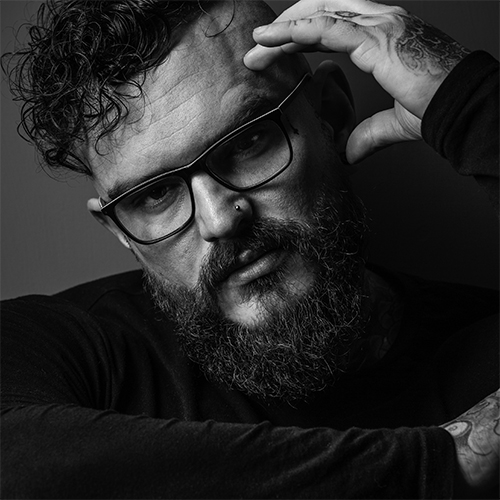
Black & white portraits 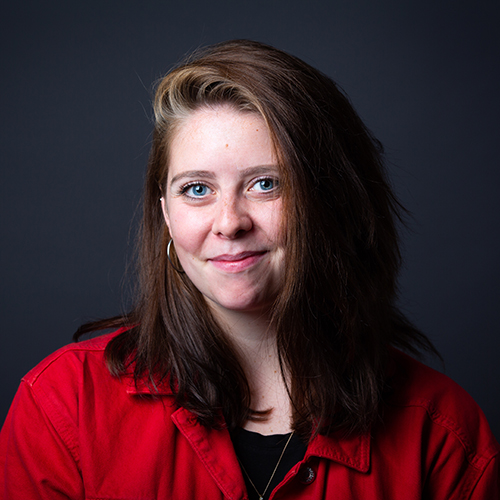
Casual headshots 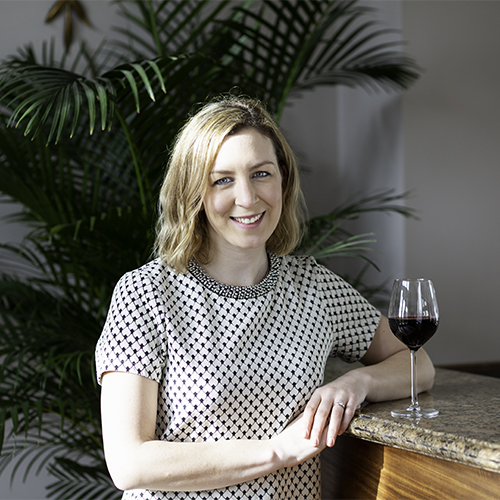
Tell a story 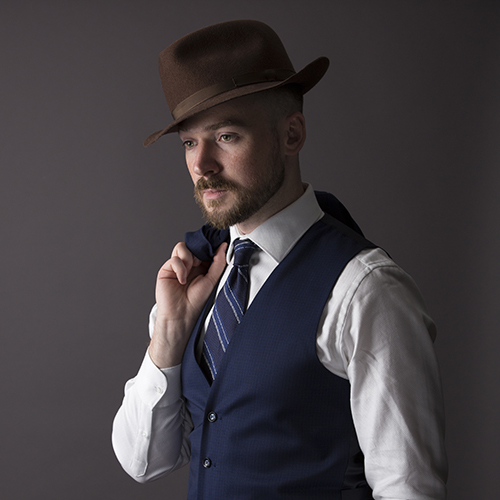
Stylised portraits 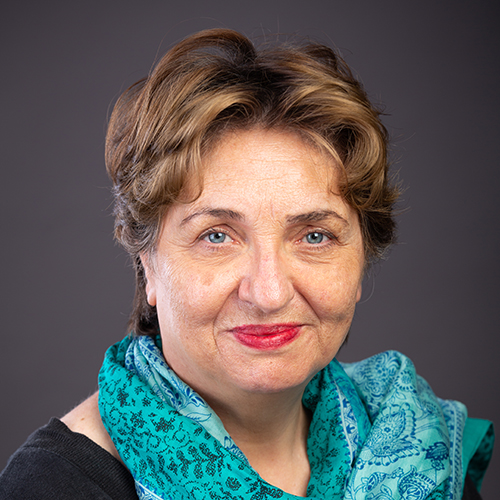
Studio headshots 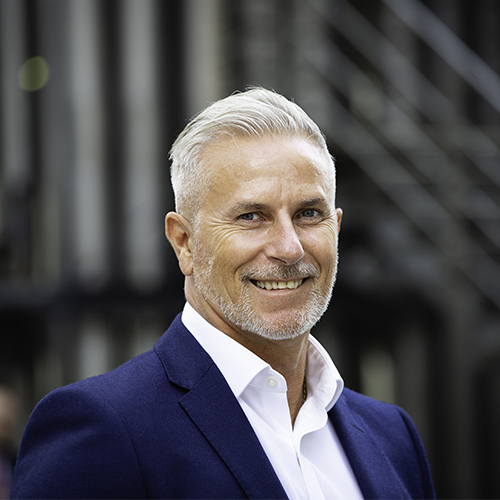
Business portrait


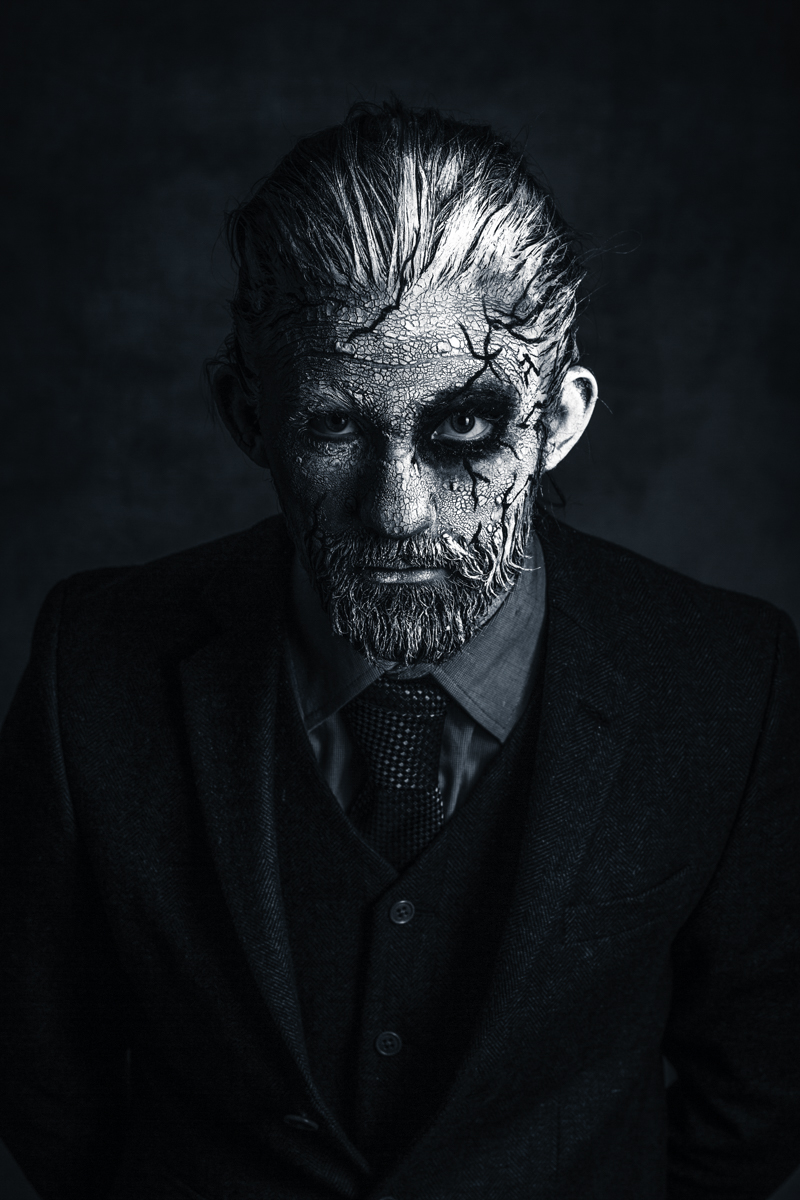
A devastating life changing event, a driver under the influence drove in to him and knocked him off his push bike and crushed his right leg which resulted in major surgery implanting a metal rod and everything in his life being put on hold. Everyone can understand and talk about the leg break, the steel rod and the healing process but the unseen is the psychological damage and torment of someone else taking away some independence and choice and changing your body and your life forever.
Model: William Ambrose
Make-up: Hope Wakelin-Gardner
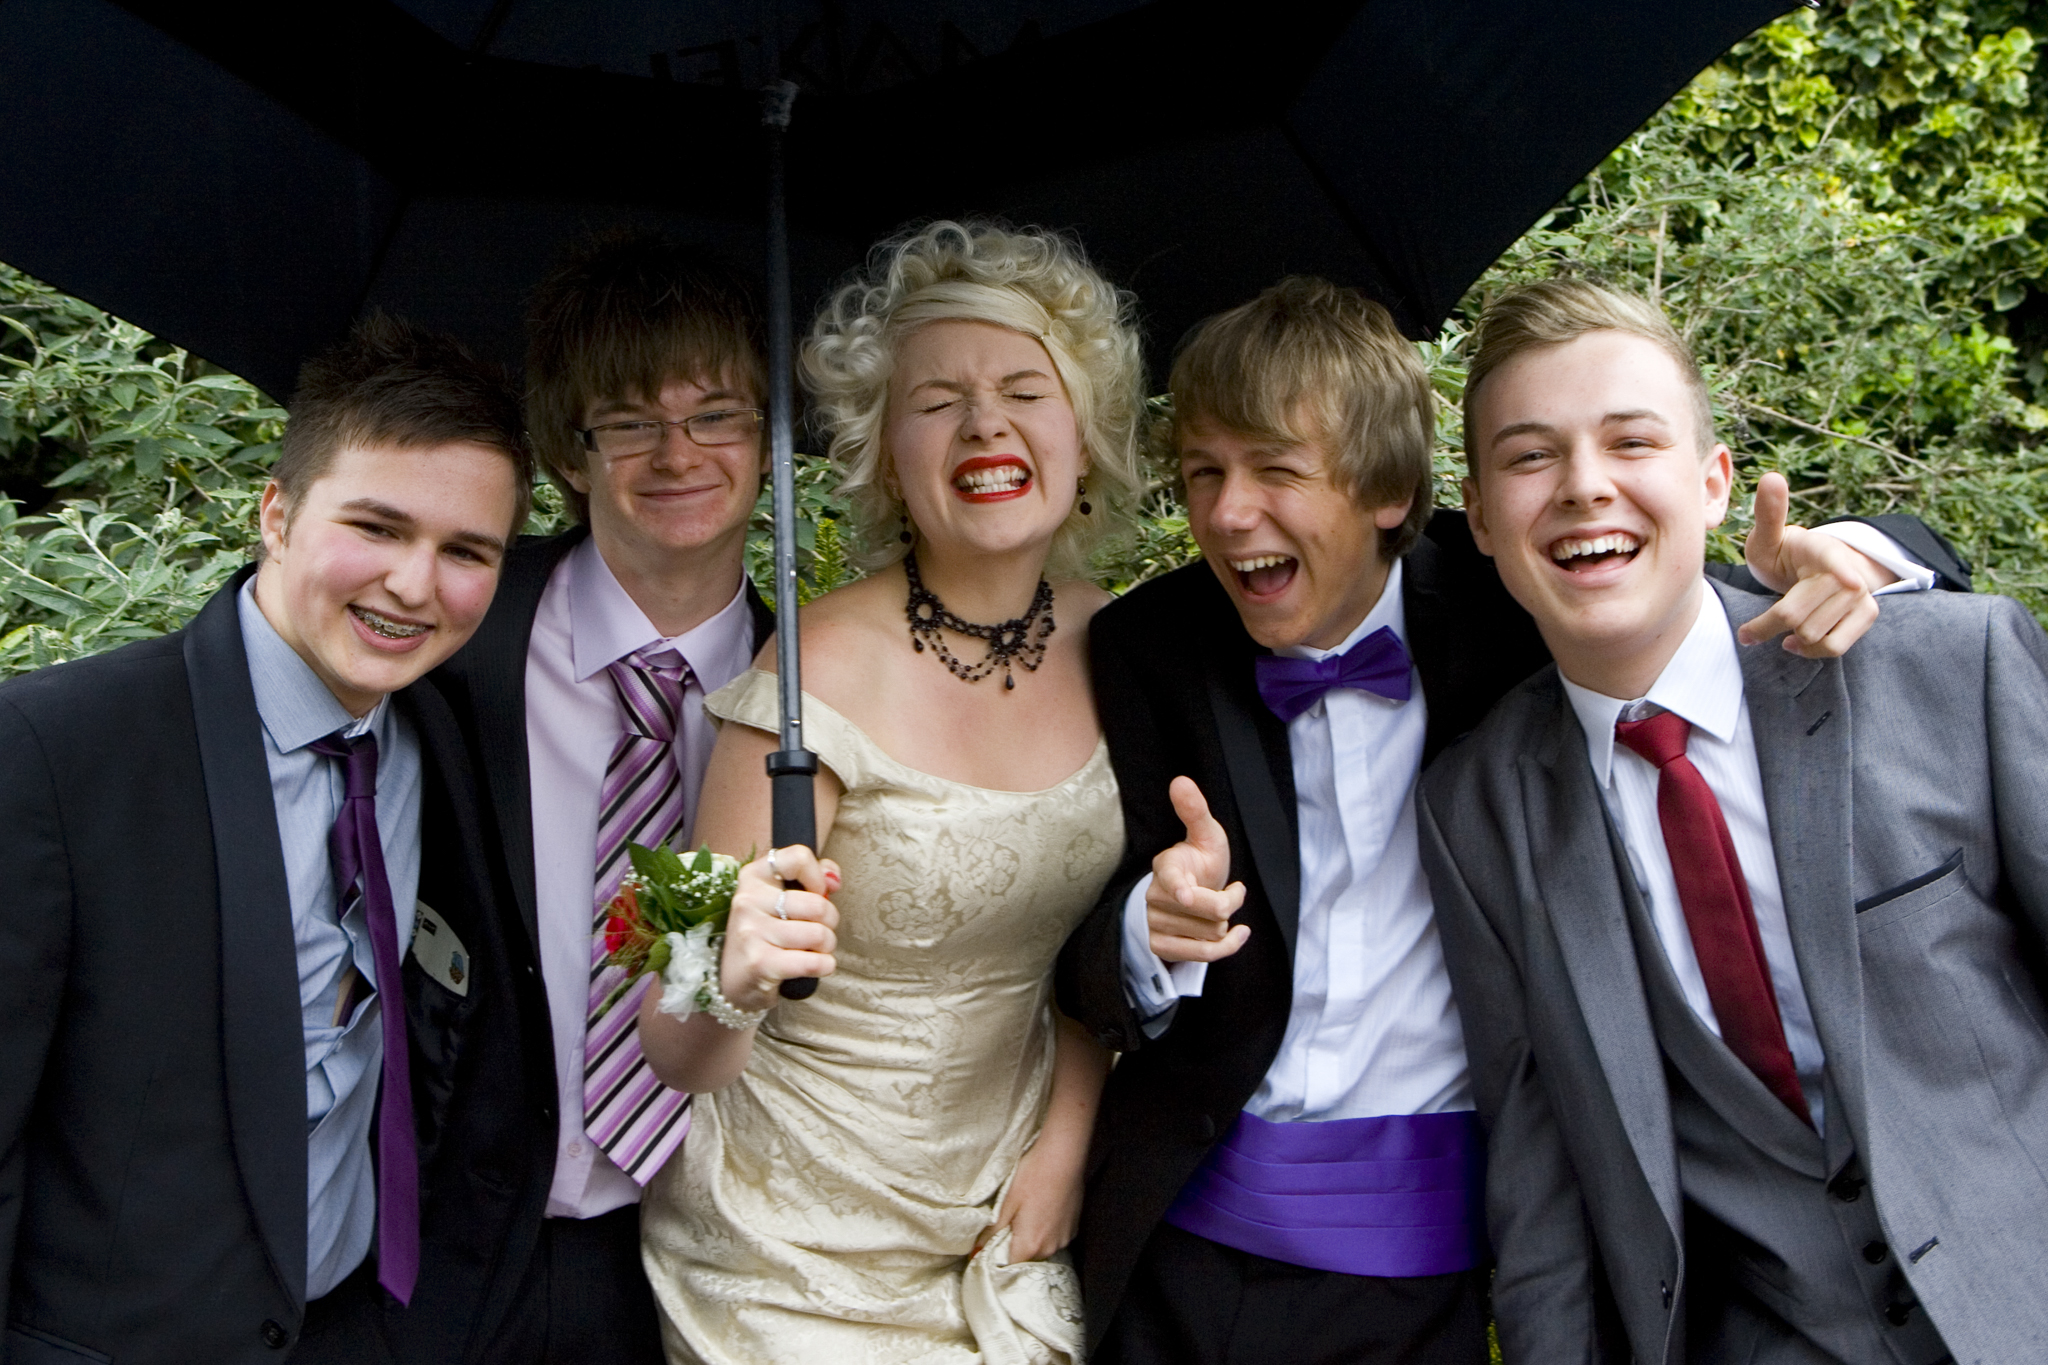
I used to do a lot of Prom photography for schools but most of the time this felt a bit like a factory line and the process was always rushed to get the images finished in time for the main event. I was always left with the feeling that I wanted more time to really get the best from the youngsters to make the images more personal to them. So each year I offer private exclusive portrait sessions to young people either at my studio or outside at a location in Colchester (usually somewhere away from dog walkers) they can choose to either come and have shots of themselves or bring along a handful of friends. Most of my clients like to have paper prints from these sessions so they can surprise their grandparents or give a print as a gift to another family relative, I love to hear how some images are sent off around the world to send to a parent who is in the armed forces or working abroad. If you would like to know more about these session please call or email me for more information or book through my website.
Simon turned up telling me he felt a bit nervous, he wanted some headshots for his website for another project he is working on and for his personal use. The first image is the one I took when Simon first sat down, I told him not to worry about posing I asked him to tell me a bit about himself and what he has been up to lately, to relax and ignore me as I didn’t want him to focus on me I was just checking the lights. He started to tell me a funny story we both got the giggles, his nerves had subsided so we could then start to take some more serious pics. About half way through Simon asked me if I would mind taking some images of him in his grandads hat (of course I was delighted I love using props) he told me about his grandad and how smart he often used to look he remembers his grandad wearing this hat. I think you will agree the hat suits him…
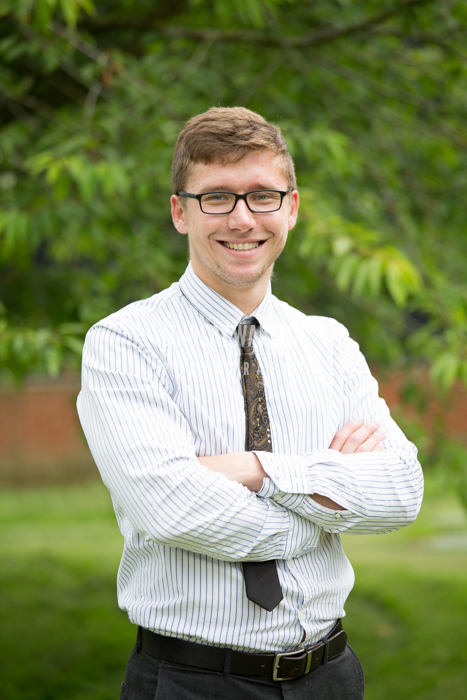
Head shots don’t have to be stuffy and dull, clients come to my studio but I also visit clients at their work place. It all depends on your company message, how you want your clients to see you and the colour and style of your website.
Headshots start at £75, this includes the edit and choice from approx 30-60 images.

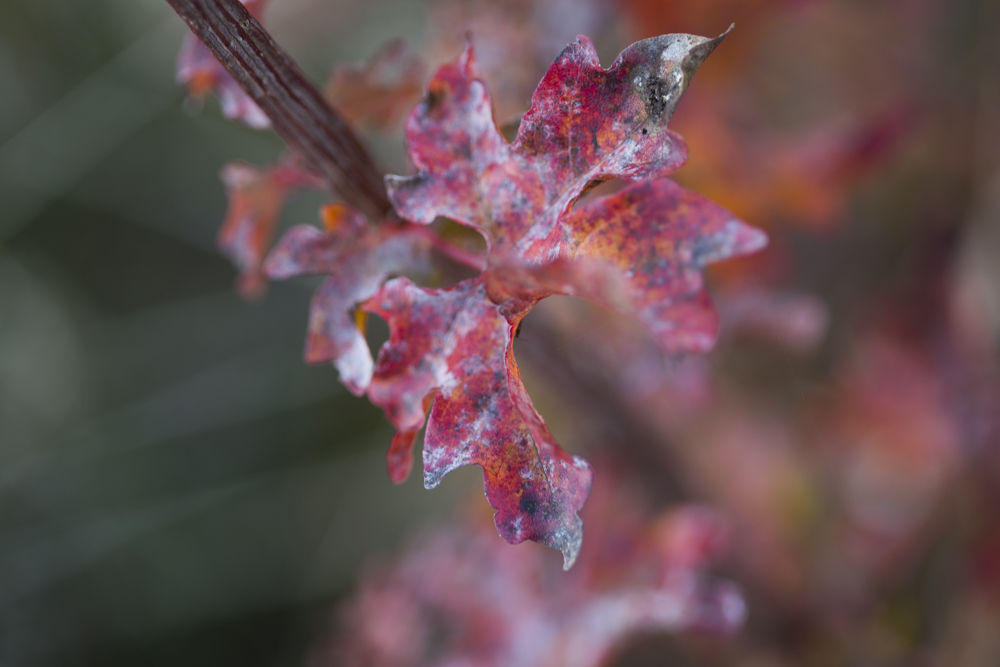
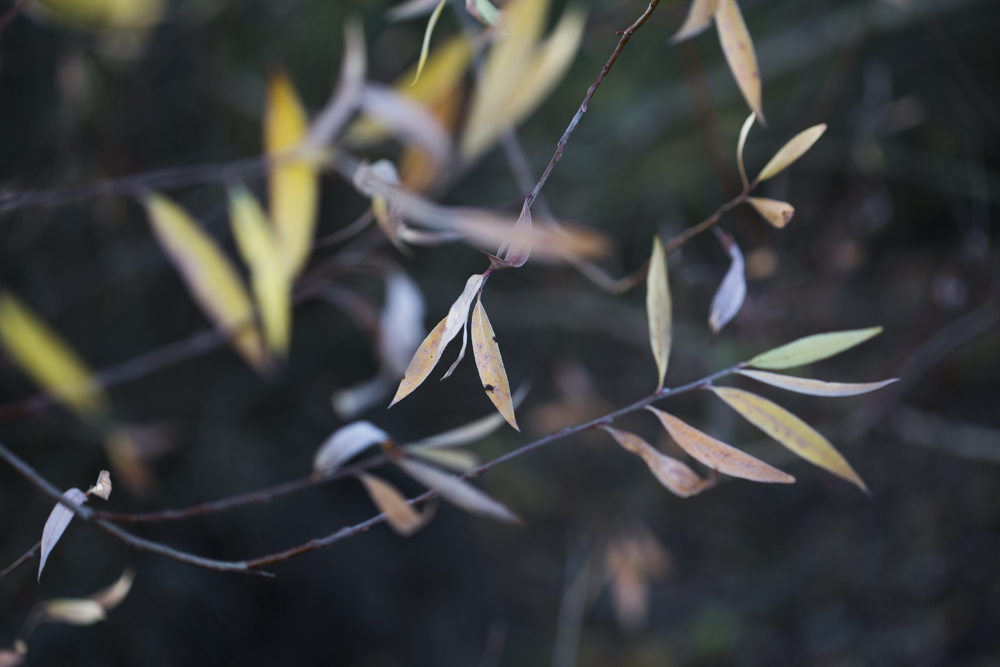
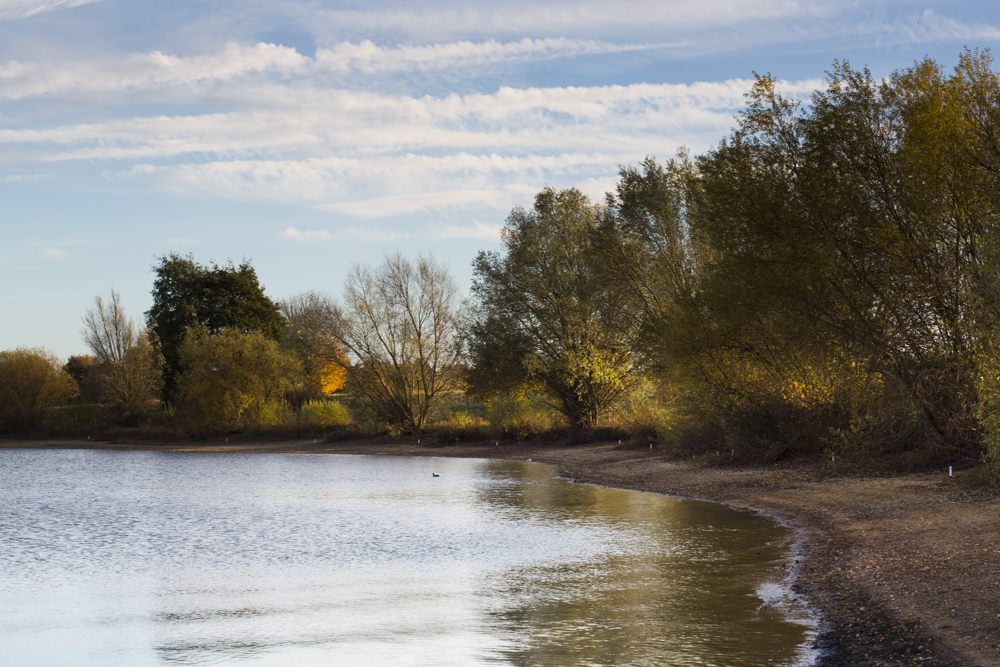
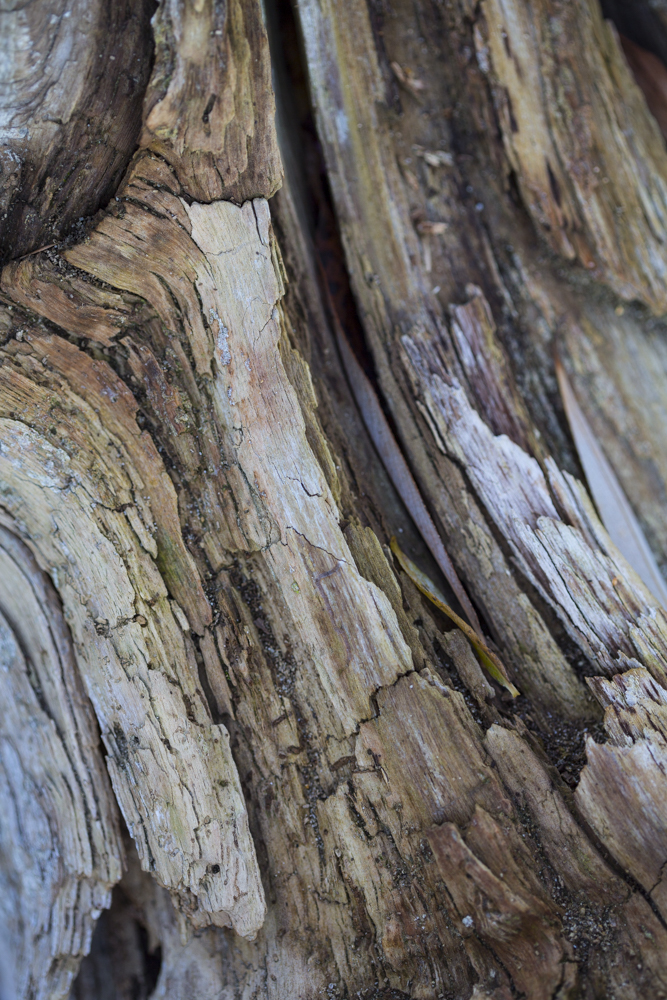
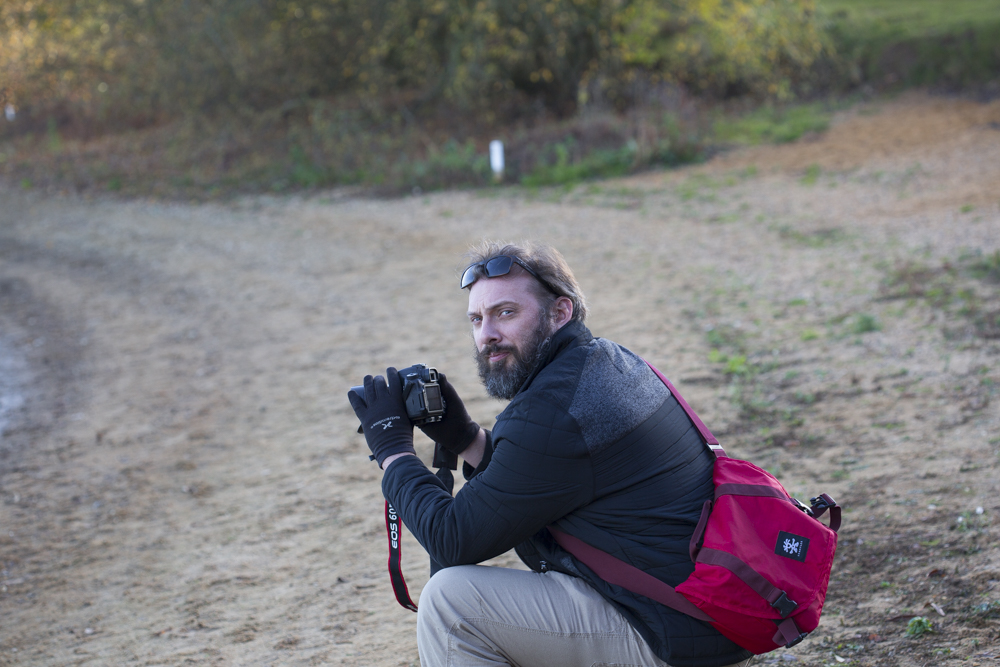
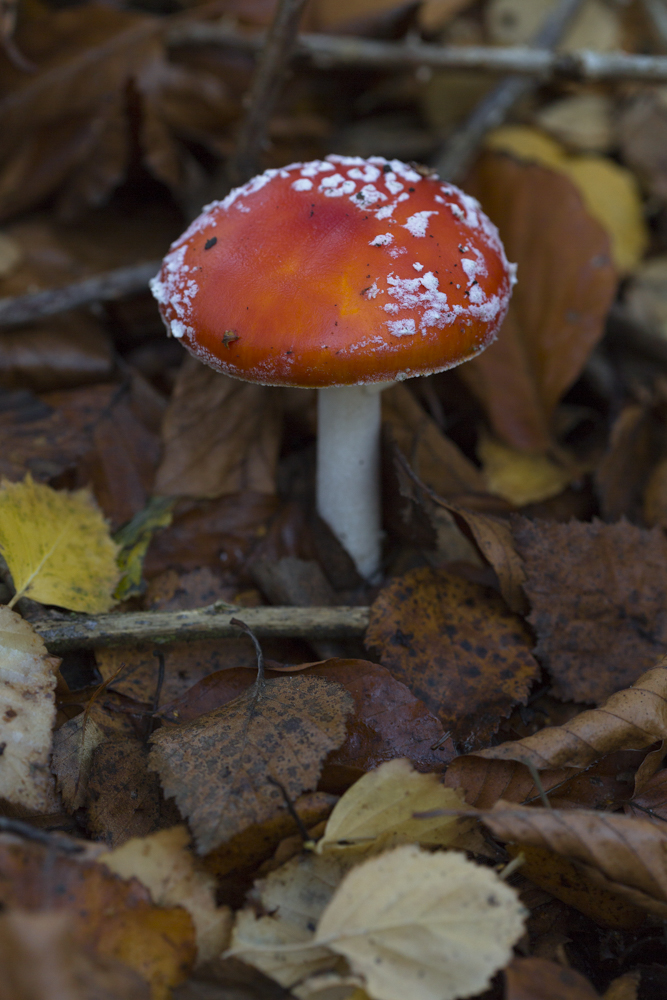
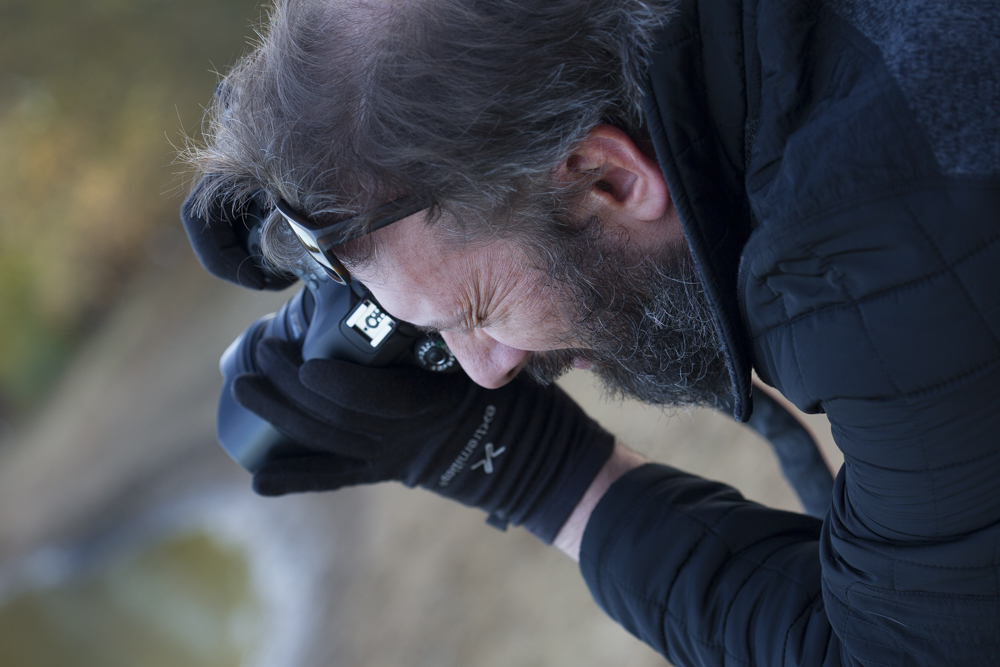
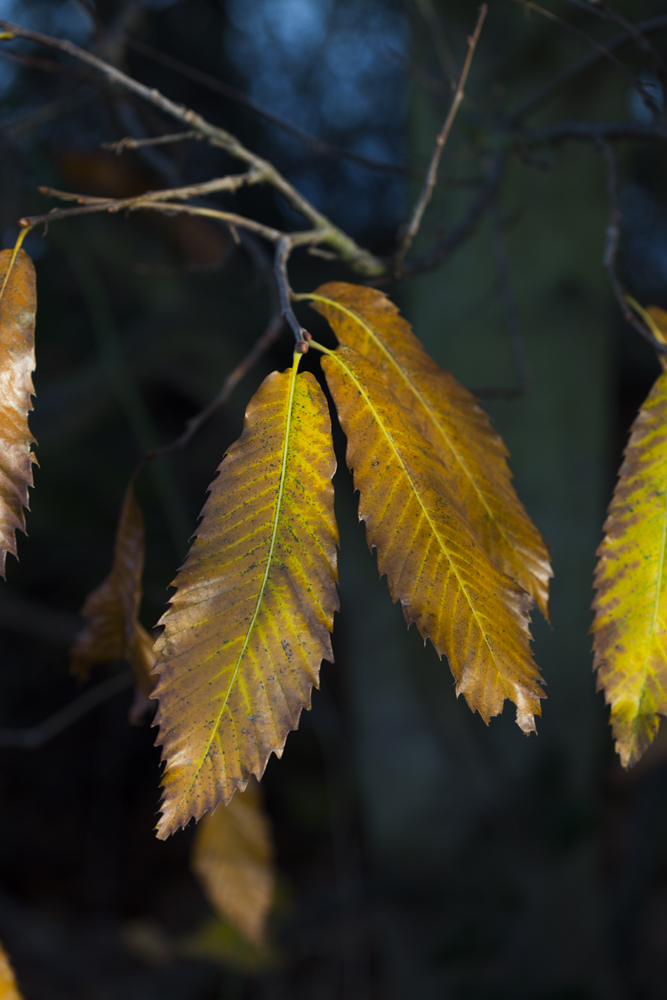
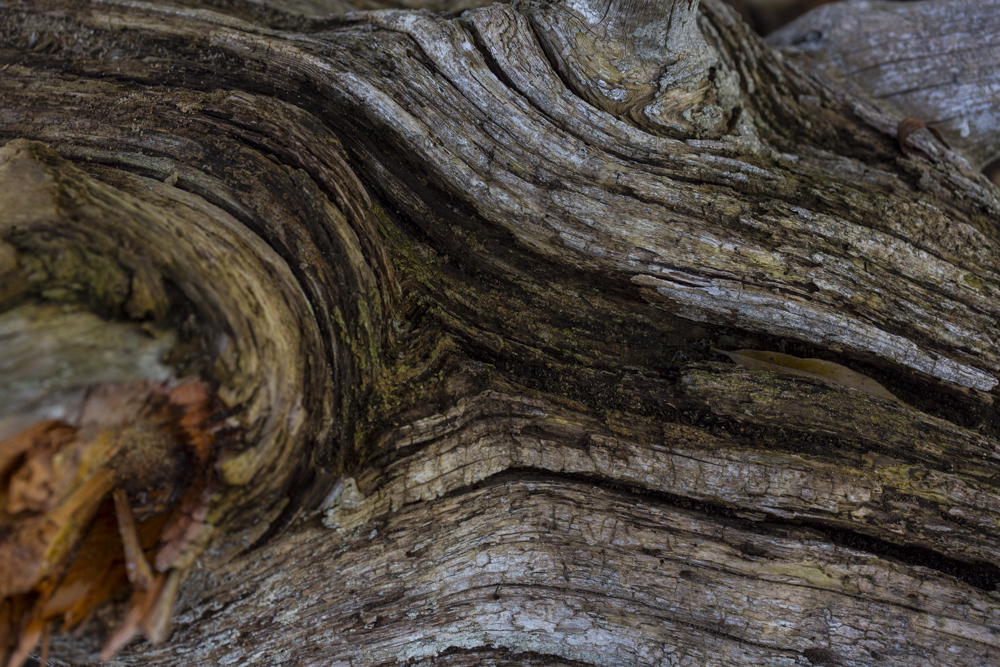
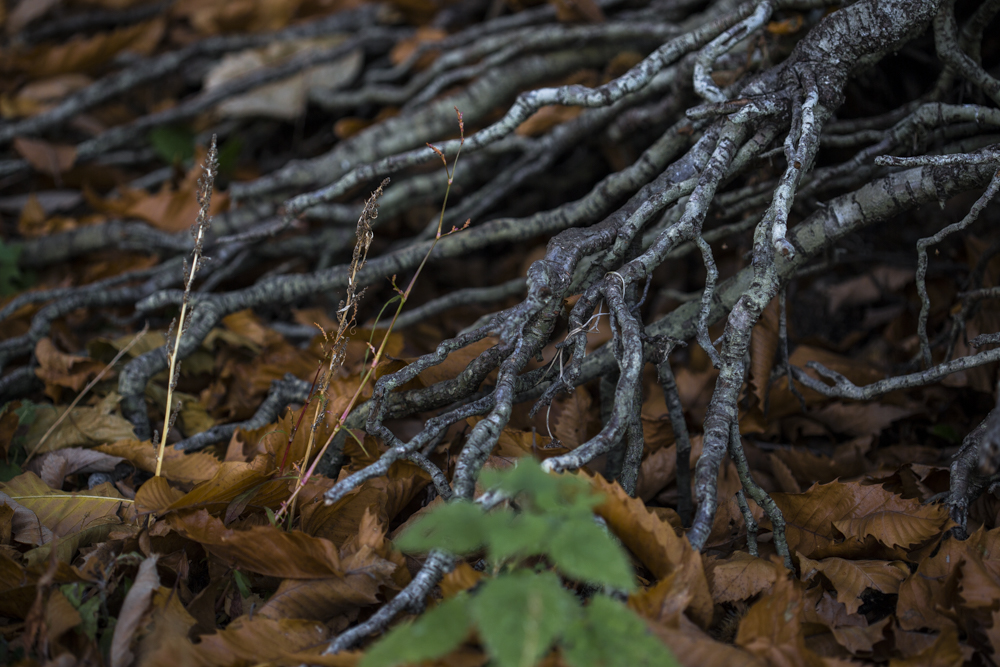
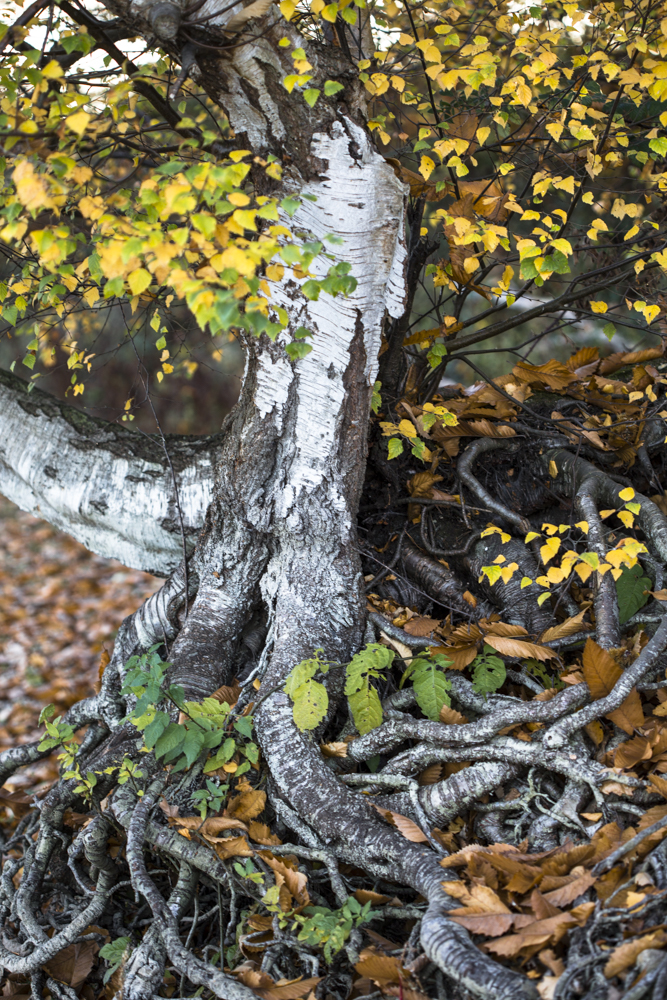
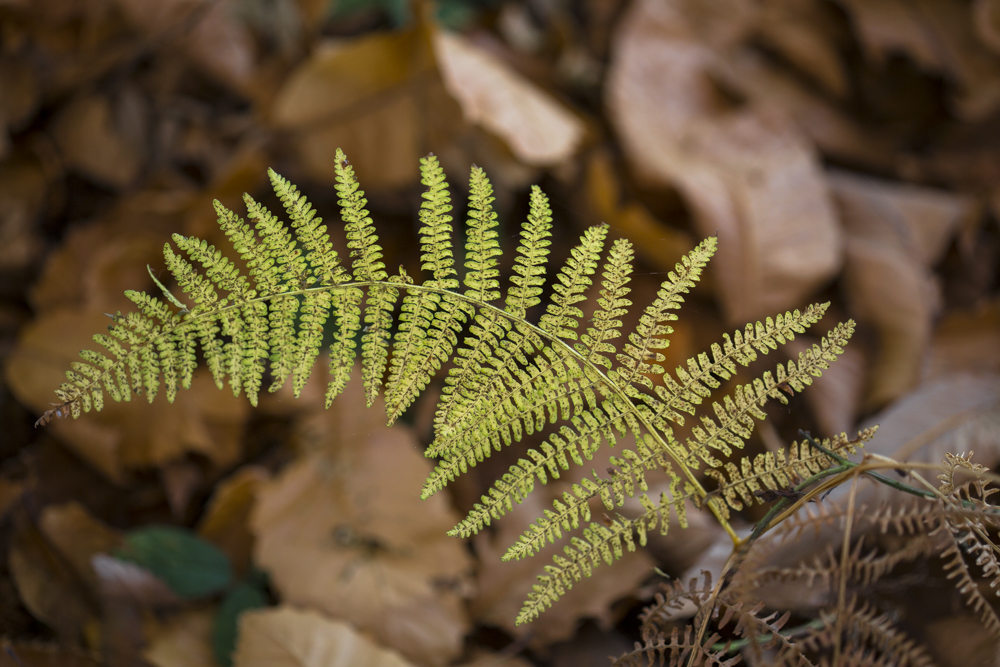
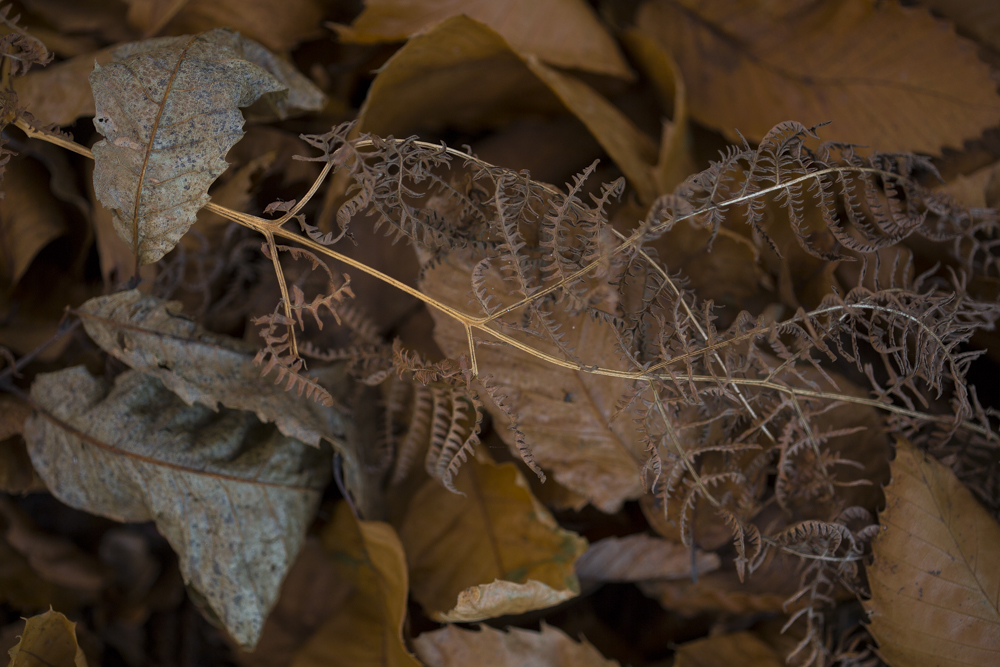
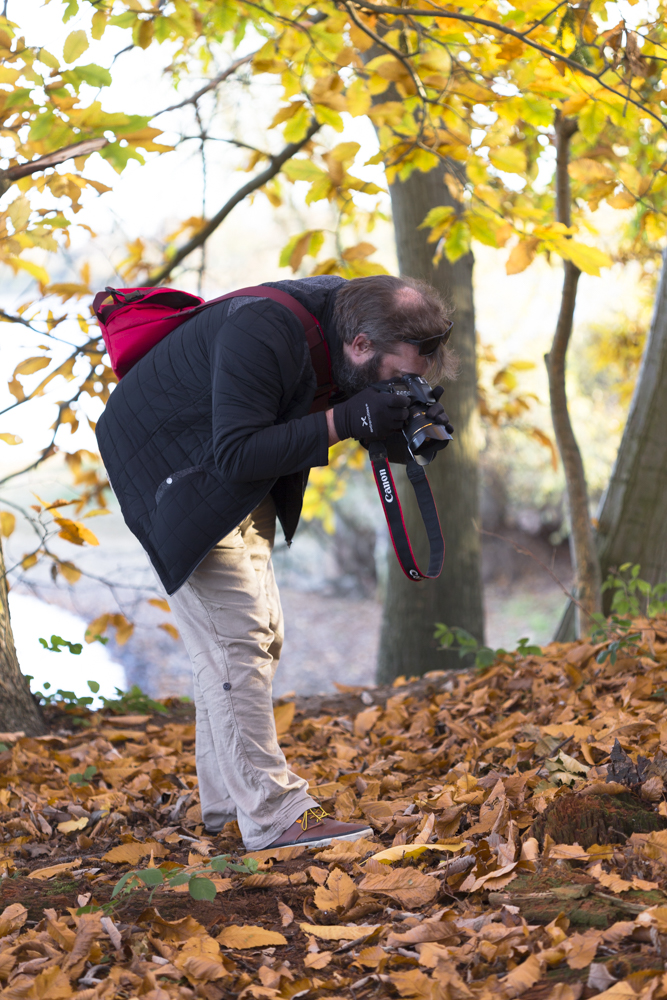
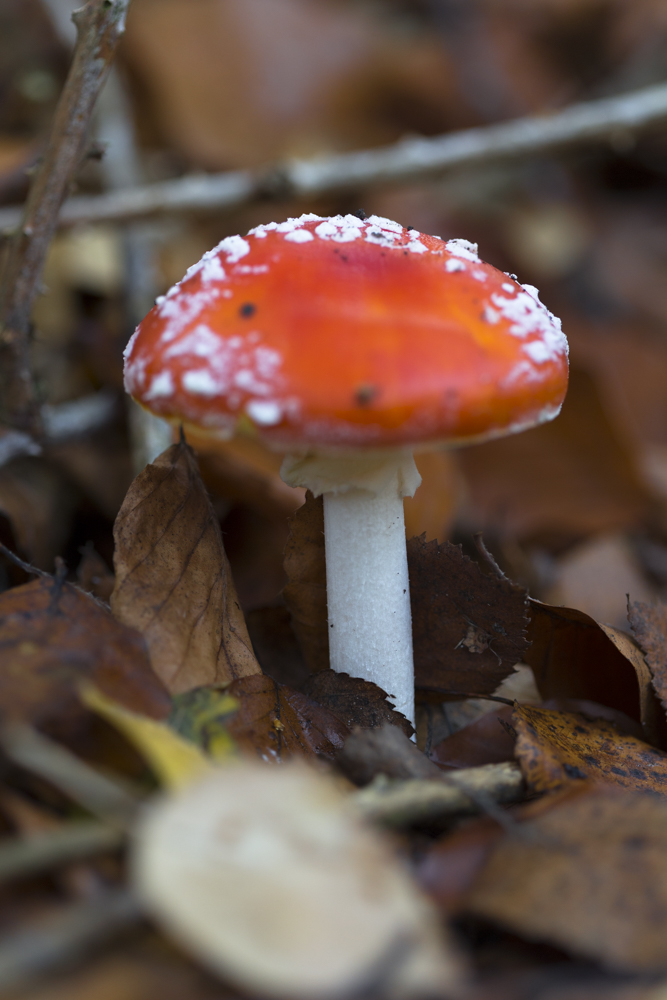
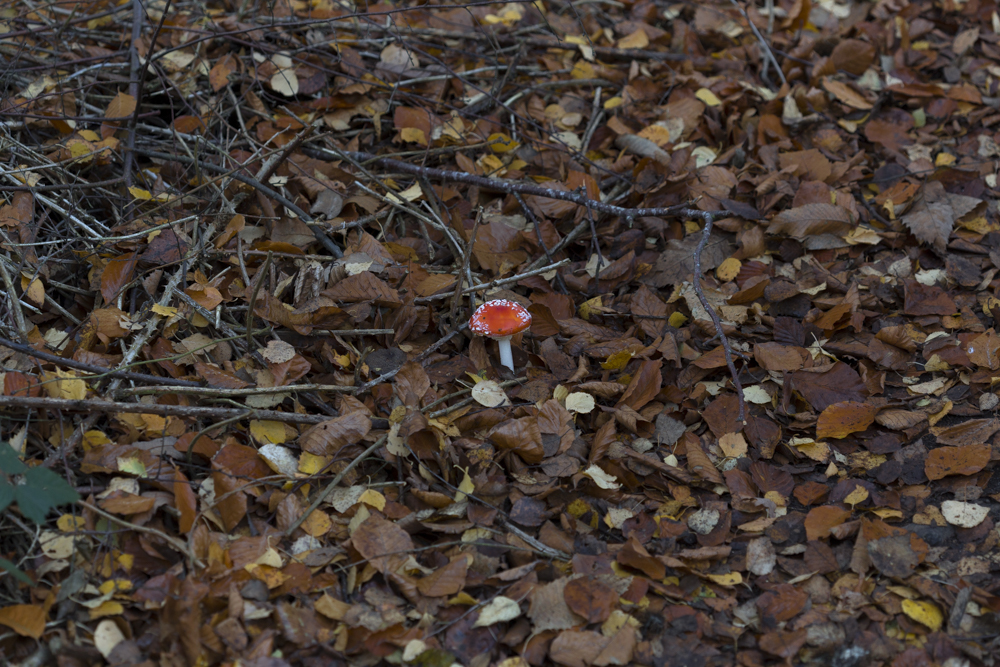
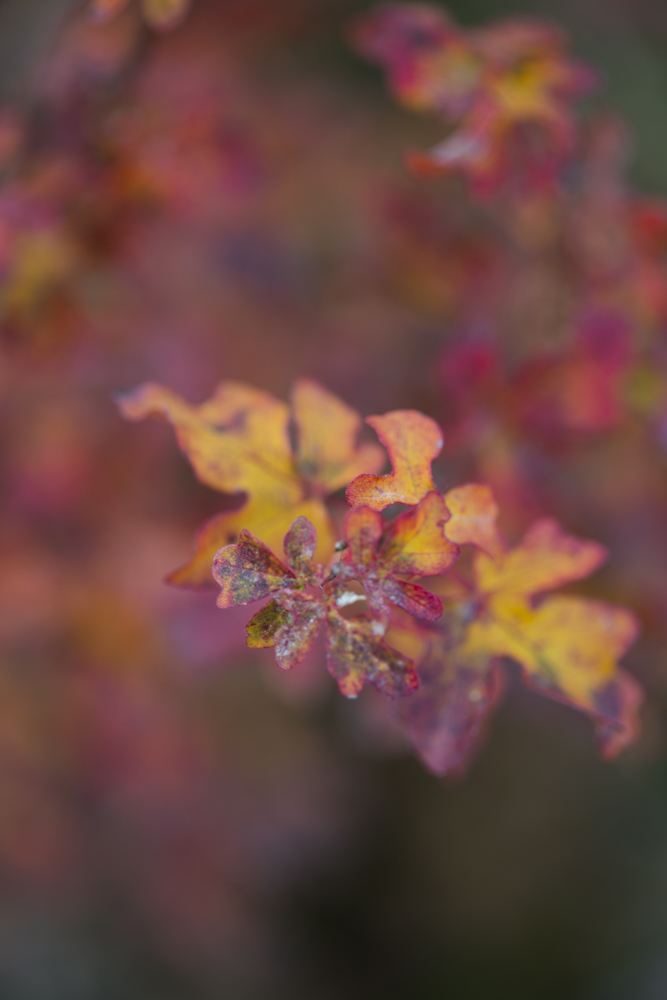
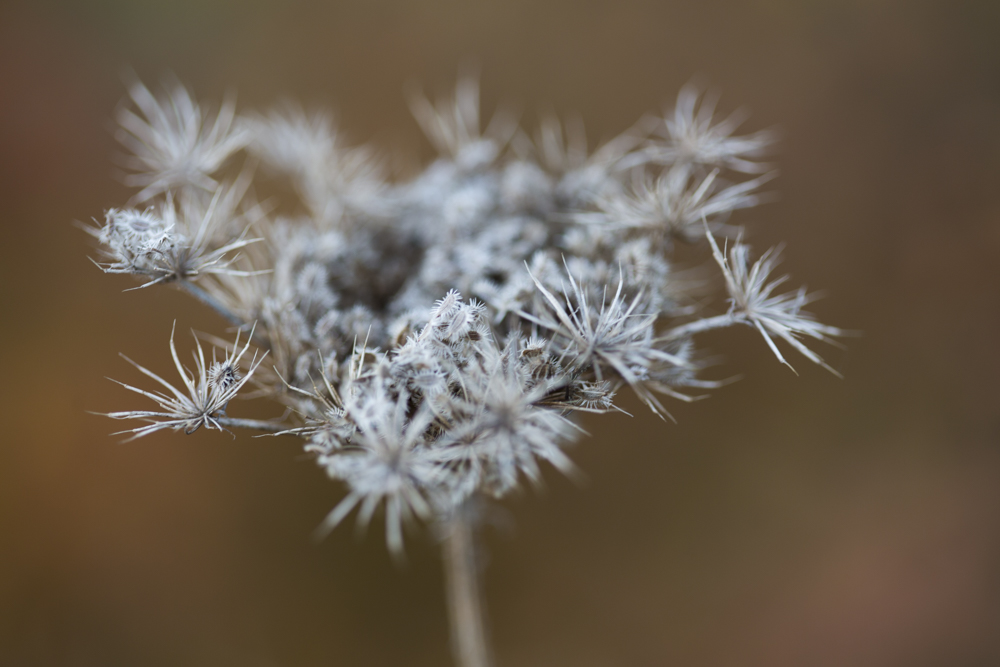
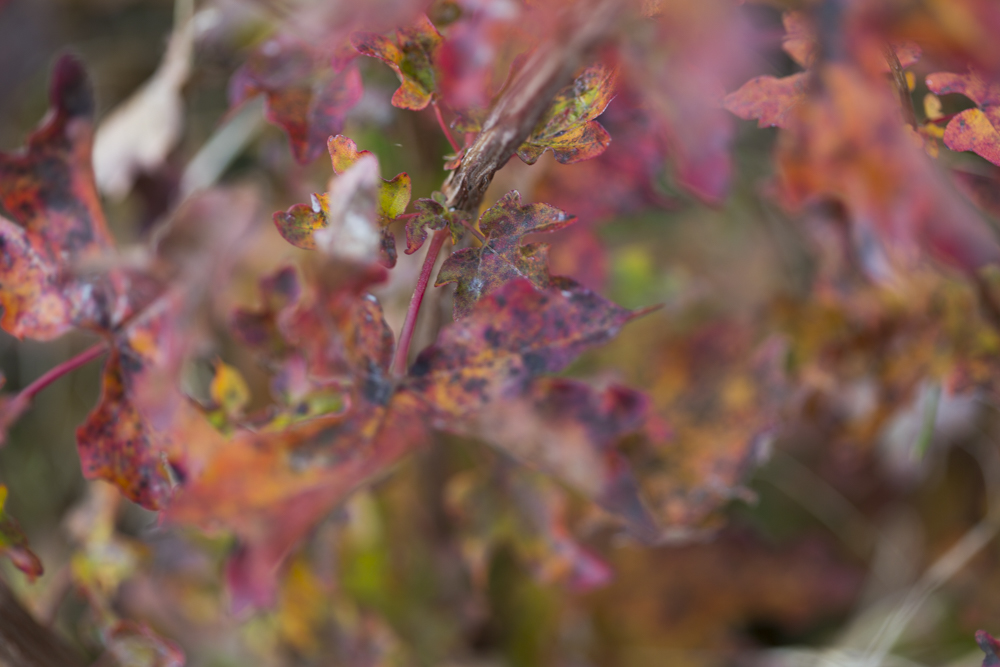
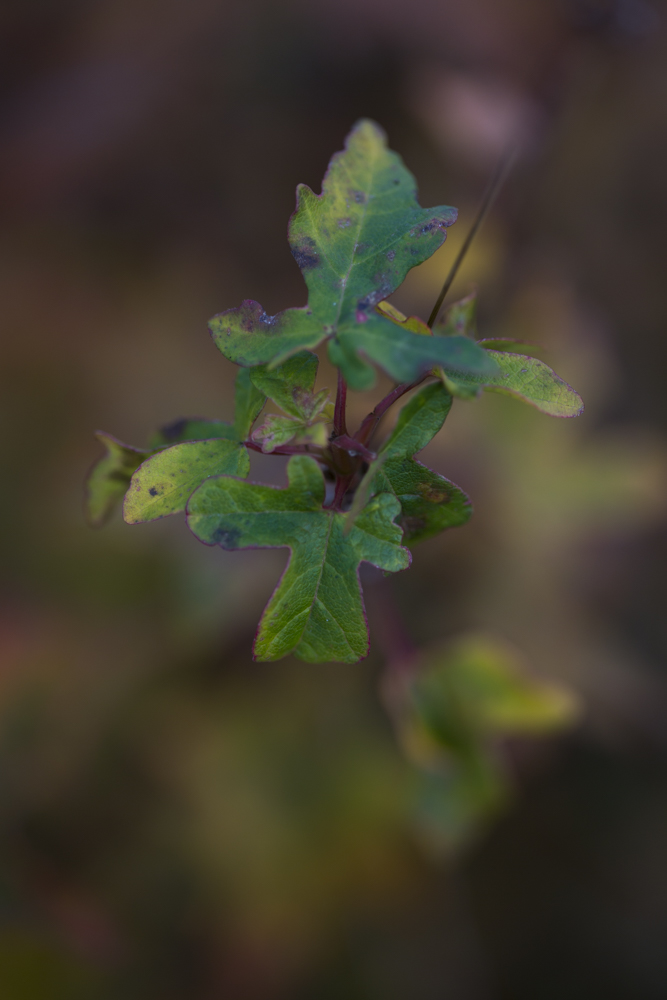
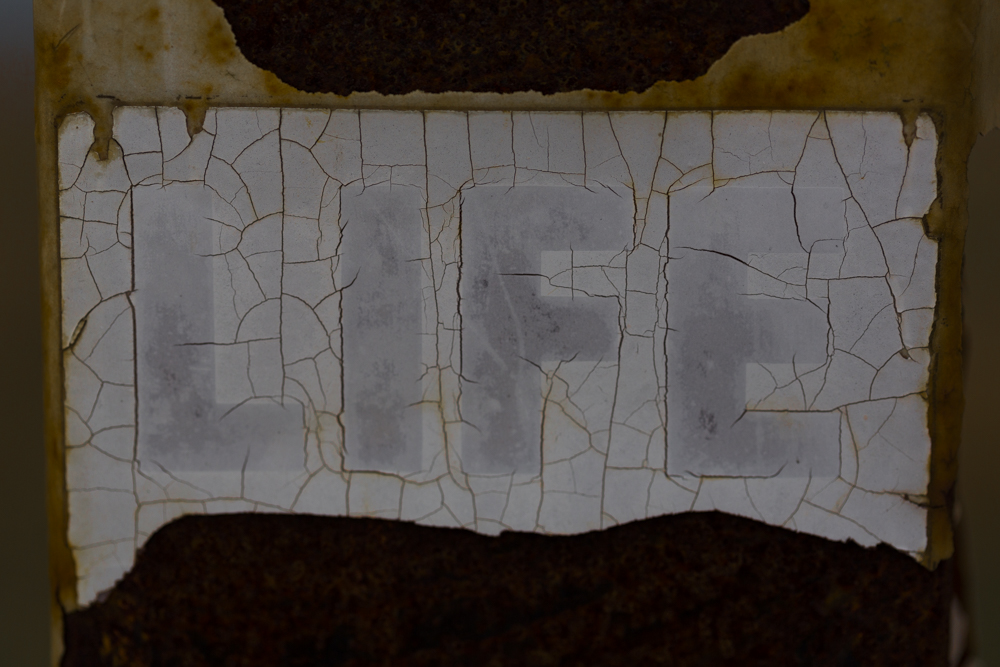
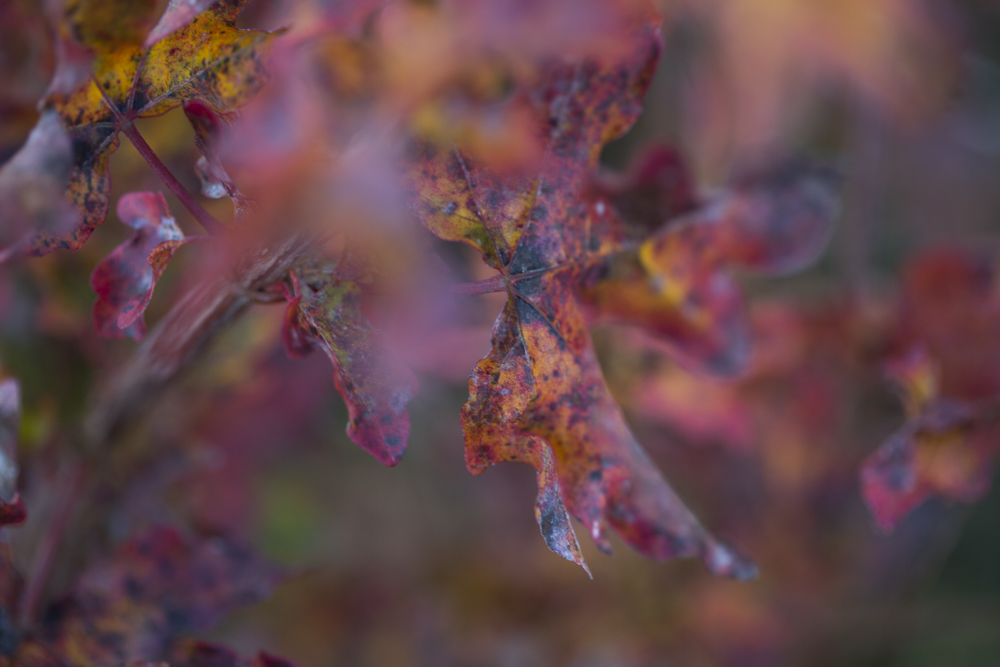
One of my favourite things to do is to go out walking with our cameras using just one lens. A Photographer friend of mine told me years ago that it was a good thing to do, it encourages me to be creative, to get back in touch with a lens I haven’t used for a while and to focus on the subject rather than get hung up on equipment that I have or don’t have on me. Here are a few pics from a walk at Alton Water using my 100mm…


Loading the presets and brushes was pretty straight forward, I thought I knew how to do it but couldn’t quite remember the steps. I was glad that Sleeklens had sent me over very clear instructions on how to load them into Lightroom. The package comes with 70 Presets which include all in one changes to your image, base changes, exposure adjustments, colour correct, tone/tint, polish and one of my faves vignette and 62 brushes include all kinds of handy make-up tools from adding eyeliner to defining hair.
Once I knew the presets and brushes were loaded I chose an image taken outside and a studio shot to see how I could use the Sleeklens Portrait workflow to enhance my images.
Original Image:
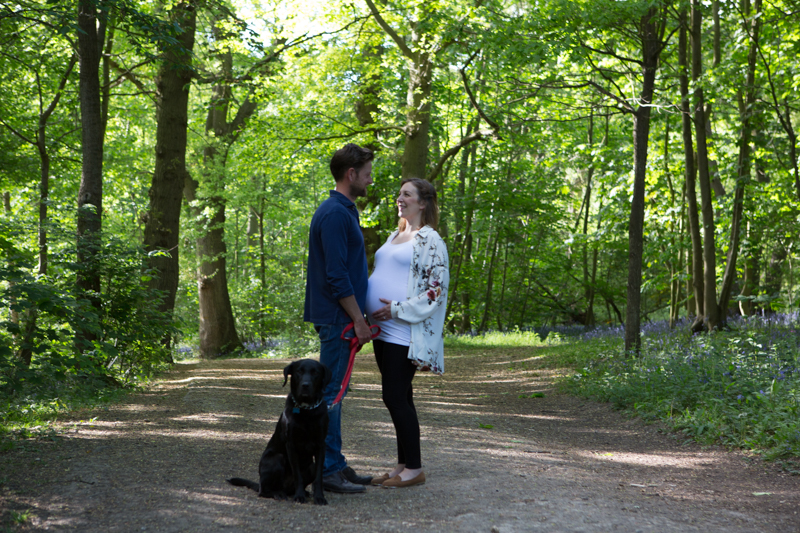
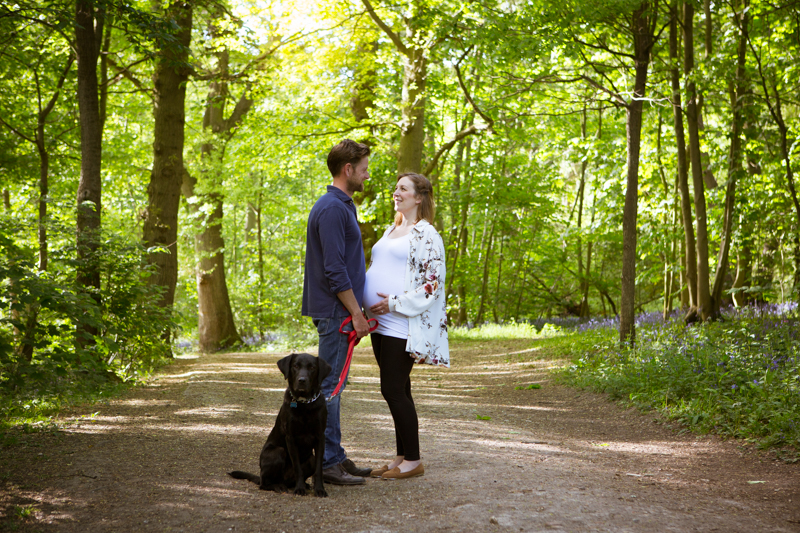
I wanted to brighten the image above as it all seemed too dark so in the Presets on the left hand side of Lightroom I applied ‘Exposure-Brighten’ then wanted to warm the image up a little by adding ‘Tone/Tint-Warm-up’ then added ‘Vignette- Black Dreamy’ to bring the attention back to the centre. The Presets are easy to apply you can just click or undo if you don’t like the adjustment you just made you can go back either in the history panel to the left of Lightroom or go to ‘Edit’ top left and click ‘undo’.
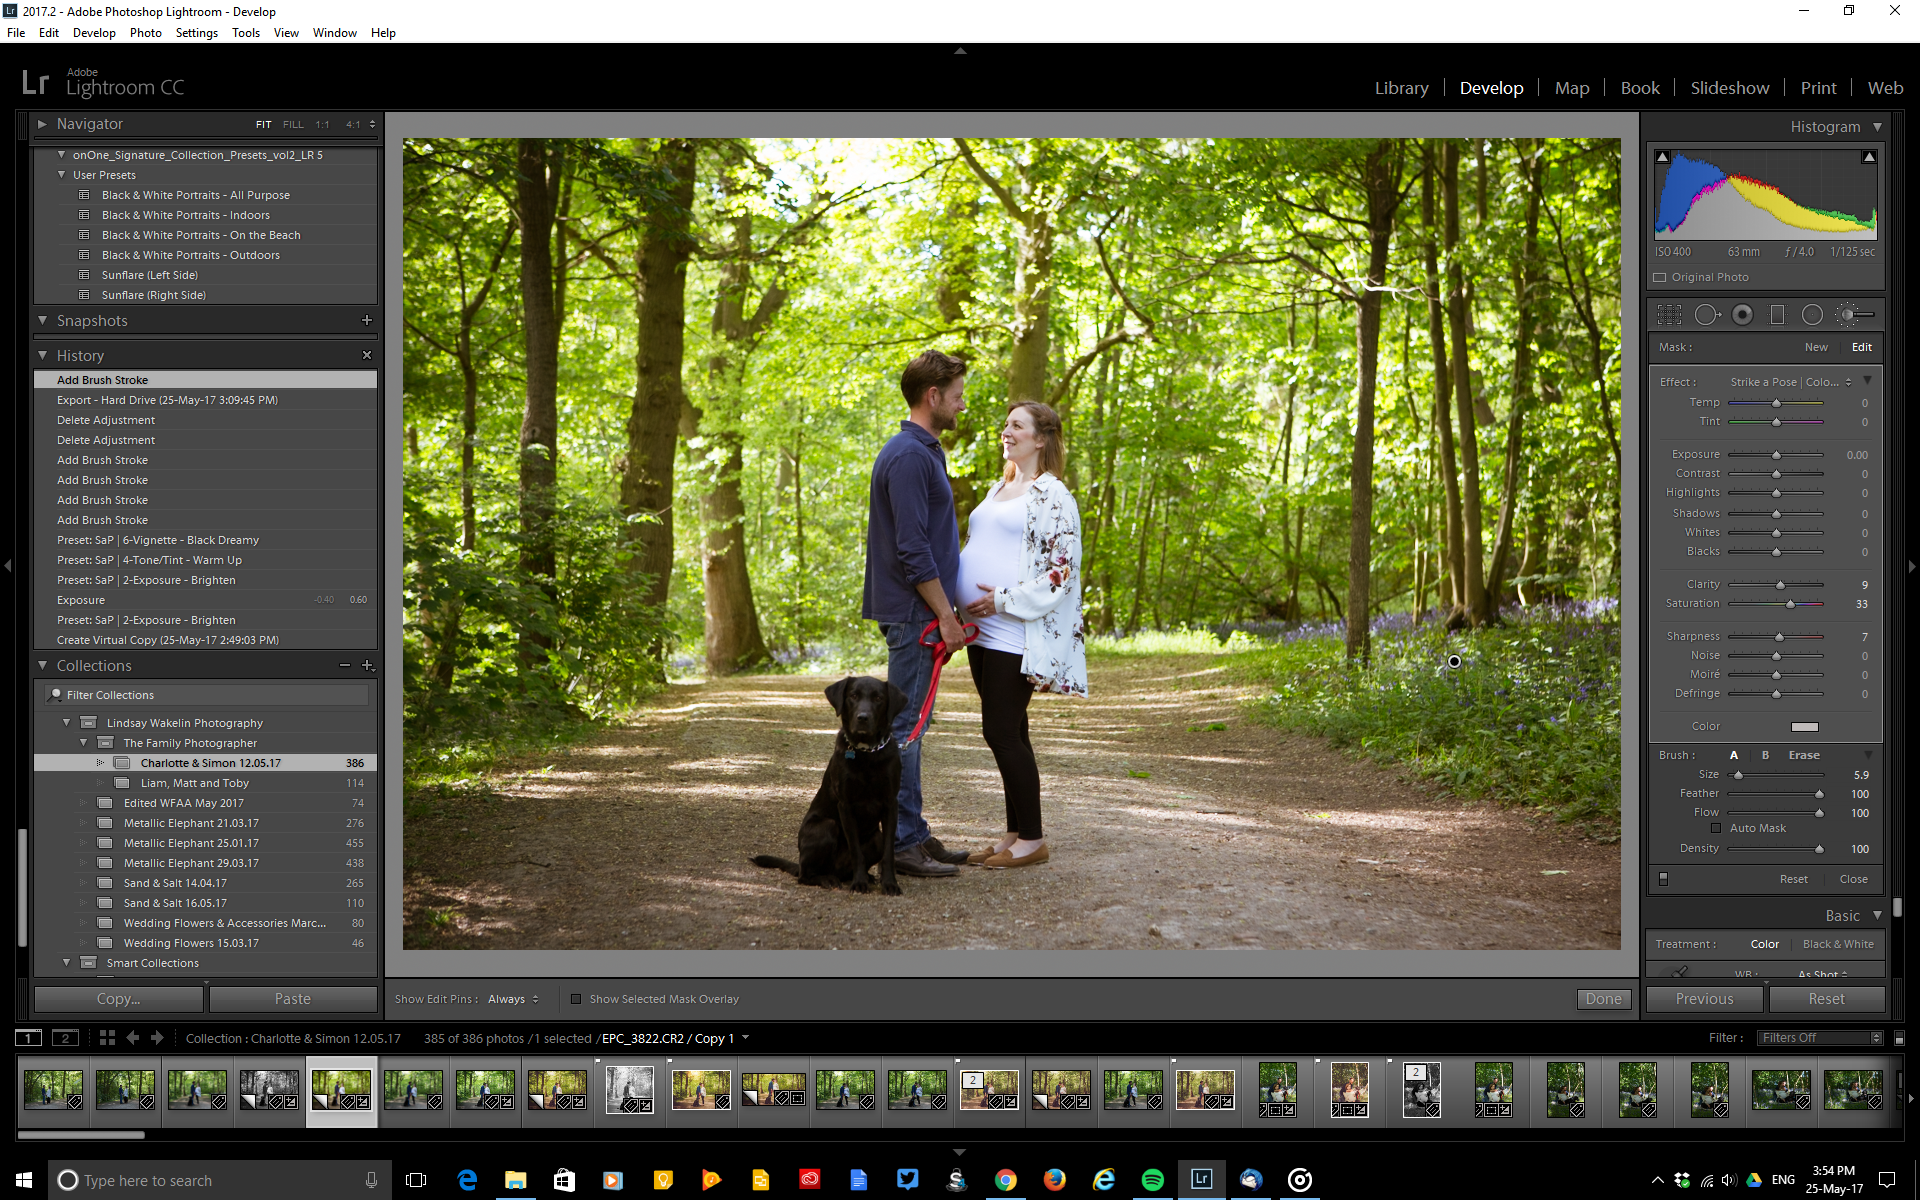
I am not sure if it is just my wheel on my mouse but when I clicked on the brush tool I have to use the up and down arrow in the brush window I can’t use the wheel on my mouse to scroll through the brushes which takes a bit of extra time and is more clunky than just scrolling up and down the choices, but I think that might just be my mouse it is quite old after all!
I used the brushes on the right hand side to choose some finer adjustments I wanted to apply, I darkened the dog and and black trousers by using the ‘Darken Shadows’ brush I also added some extra saturation with the ‘High Saturation’ brush to apply on the right of the picture just to bring it a bit more to life. I also wanted to add a bit of a golden glow in the gap in the trees as that looked a bit pale and washed out so I used the ‘Haze-Golden’ brush and just painted circular brush stroked to add some sunny warmth to that gap in the trees.
I also used the ‘Base- Auto Tone Black & White’ preset as I wanted to see what the black and white would look like. Black and whites can vary so much but I liked how this one converted using the preset often they can be too bright or too dark so you have to tweak until you get the tone you are happy with but I was pleased with this result.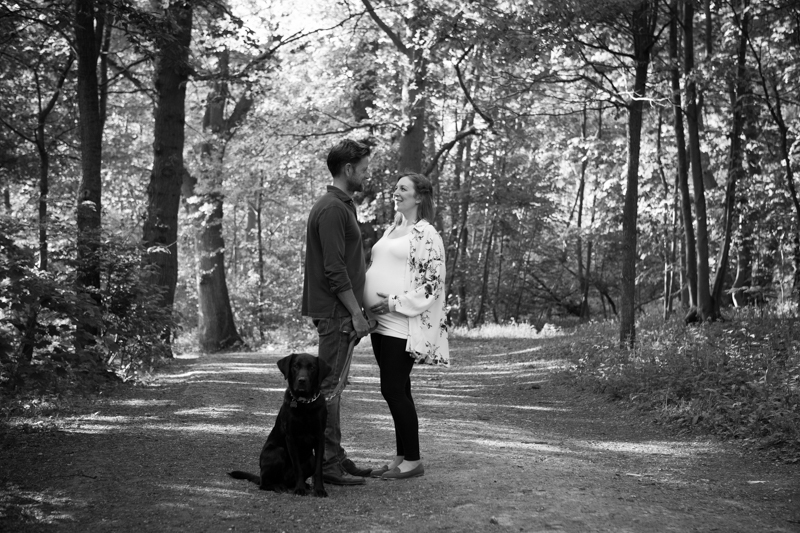
Next an image I took in the studio, I chose an image which was very shallow depth of filed and almost washed out in appearance. I wanted to see how I could improve it and bring it back to life.
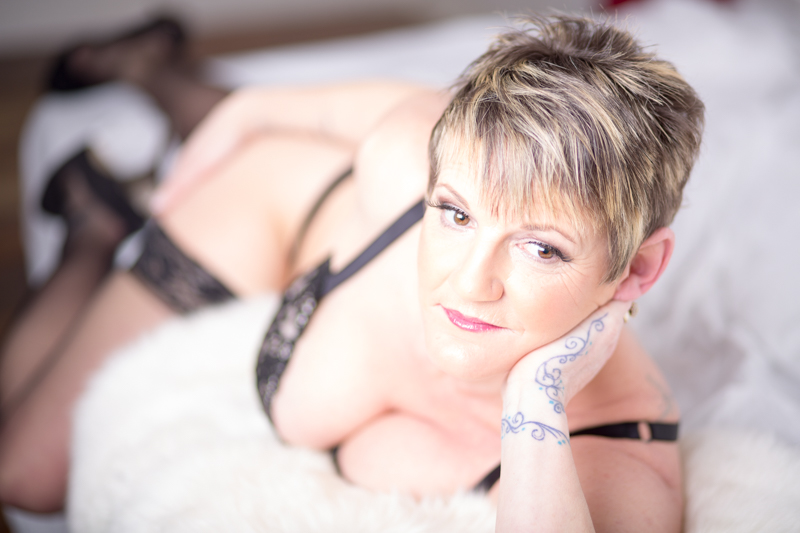
Original image:
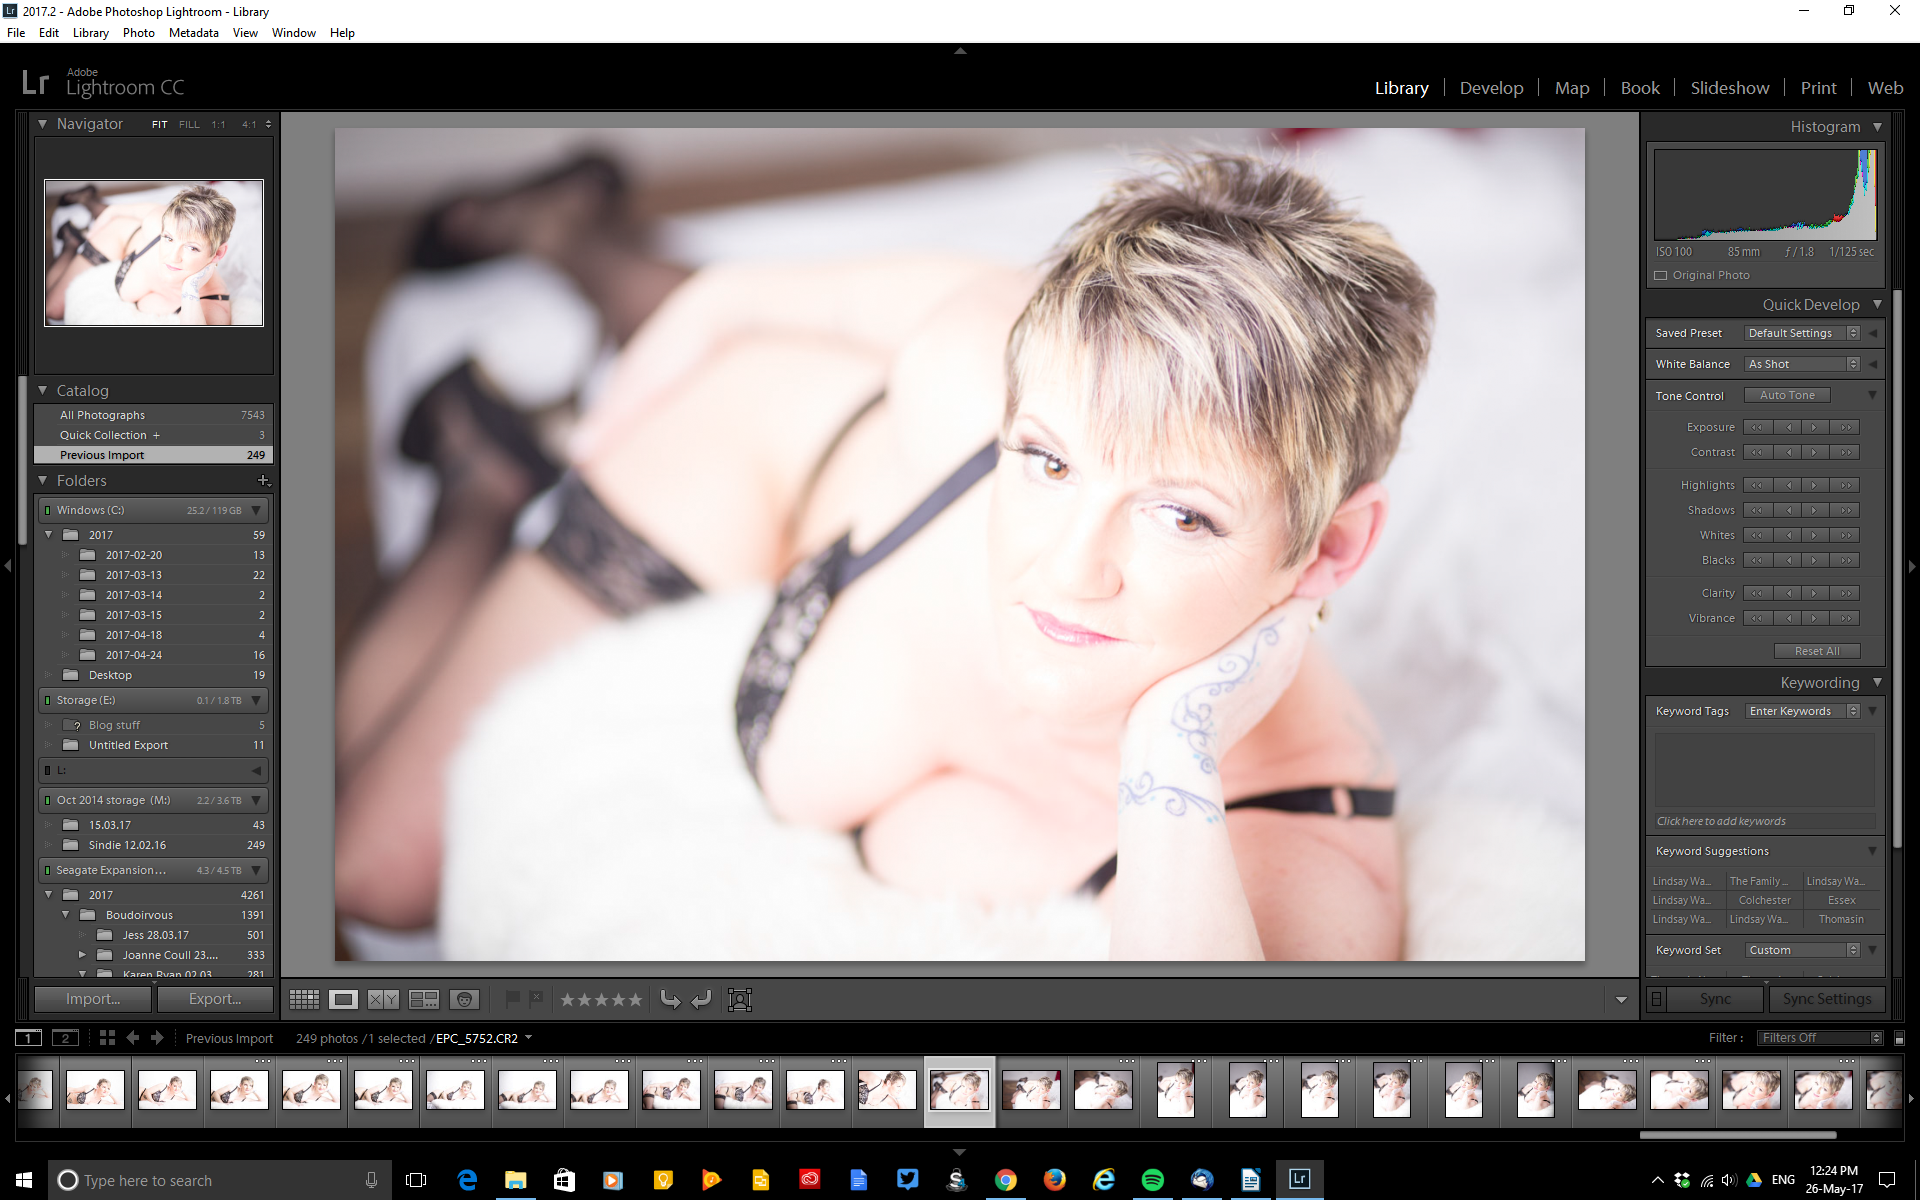
The first things I applied from the presets were ‘Auto Tone’ preset which instantly gave it more oomph and depth of colour, I added the ‘Vignette-Black Dreamy’ to add more contrast to the edges of the image then used several brush tools to enhance the face.
I used the following face brushes to add some extra definition: Reduce Wrinkles,Rosy Lips, Define Blonde Hair, Portrait Punch, Darken, Add Contour To Cheeks, Add EyeLiner, Reduce Highlights, Subtle Smooth Skin, Sharpen Face (to brush over her eyes). The image now looks warmer and has more depth without losing it’s soft feathery feel.
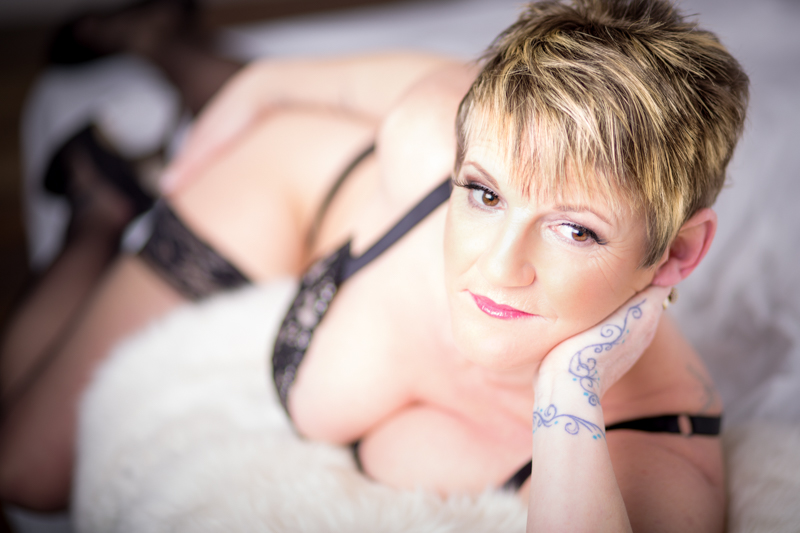
I was surprised by the number and variation of the brushes, I like how they are grouped into categories so they are easier to find. It meant I had to spend less time going to Photoshop and back as I now have a better selection of tools within Lightroom which are so easy to use. I tried using the presets and brushes on other images and found they can be used for all sorts of portraits inside and out, I am chuffed with my Sleeklens presets and brushes as they give me fast easy options to use with my Portrait Photography but also my Boudoir and Family Photography.
To find out more about Sleeklens go to – Tutorials, Presets, Pinterest.
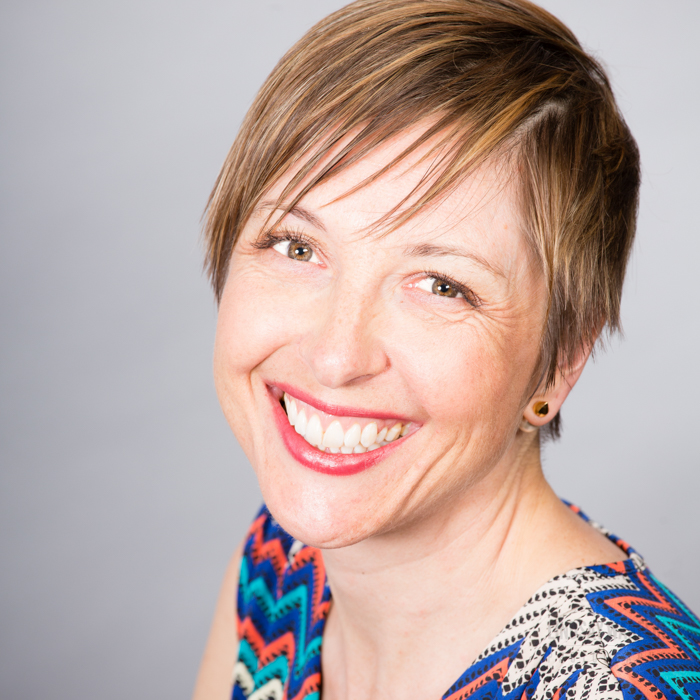
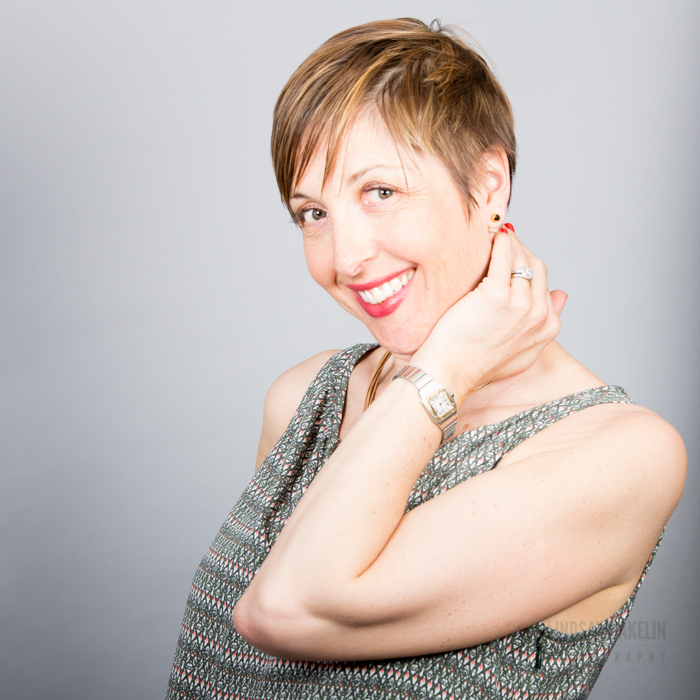
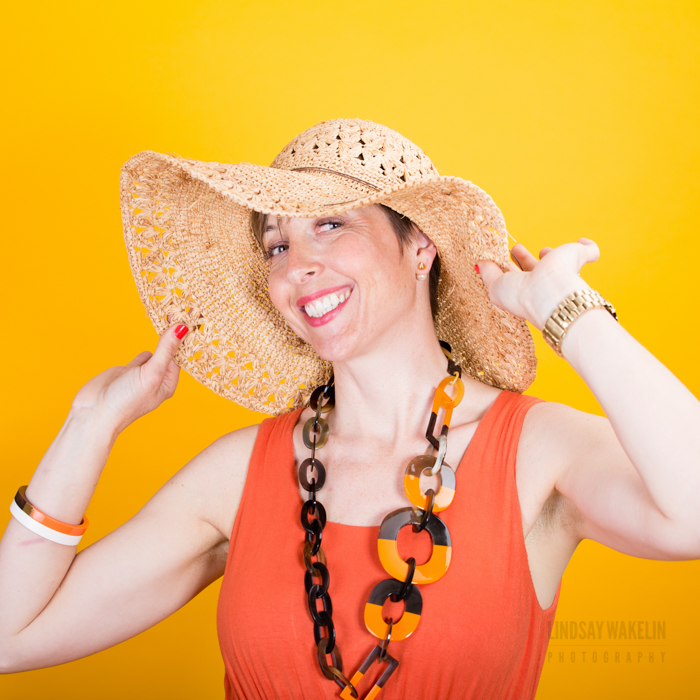
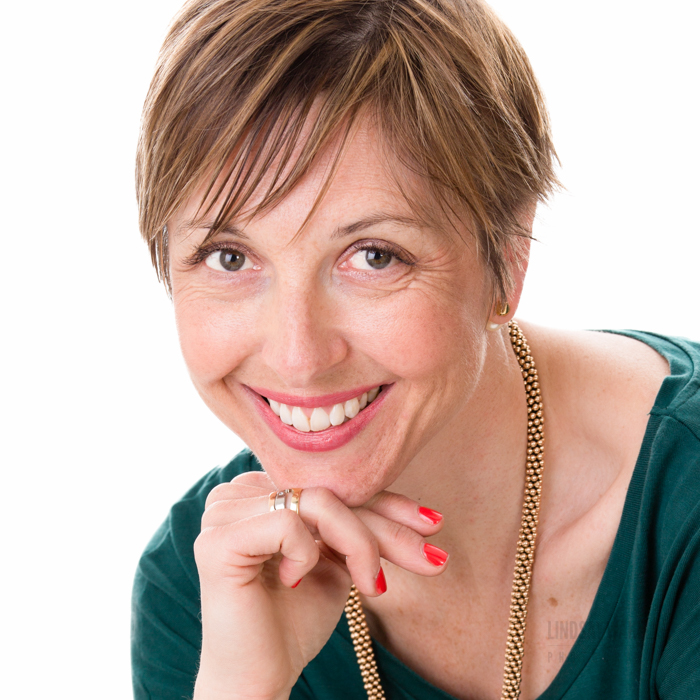
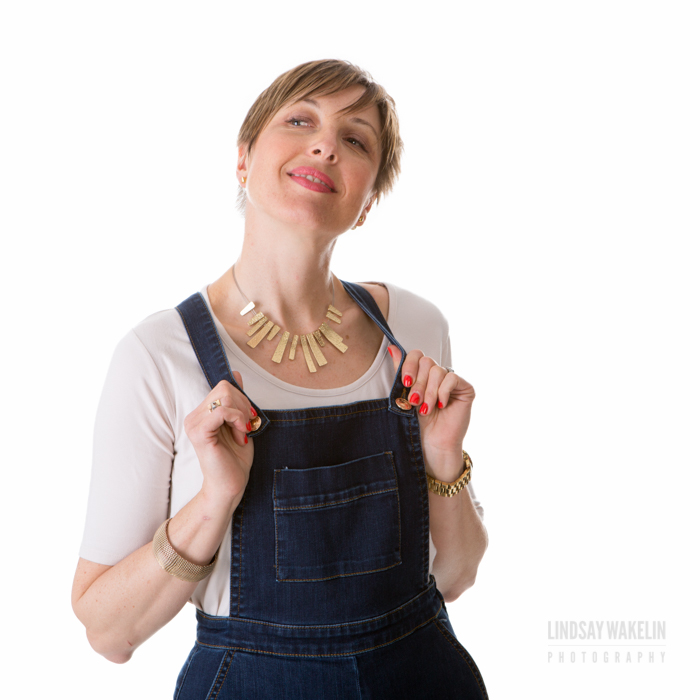
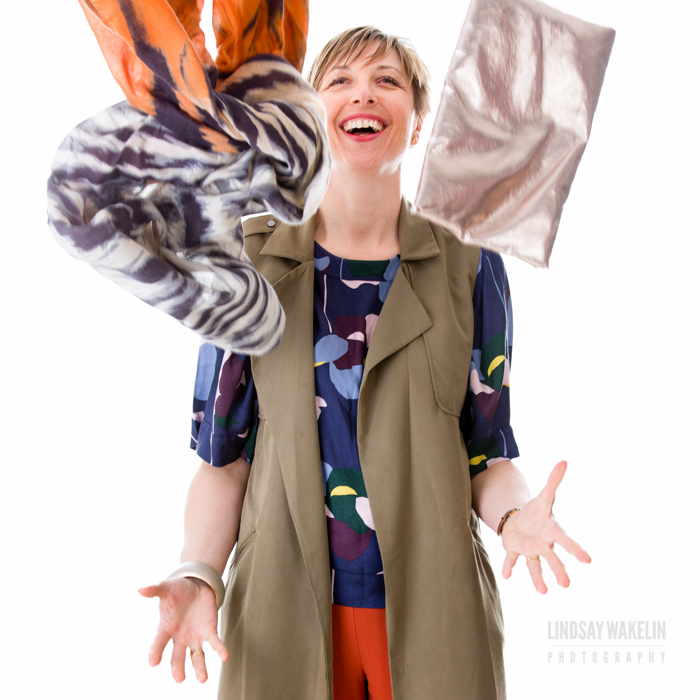
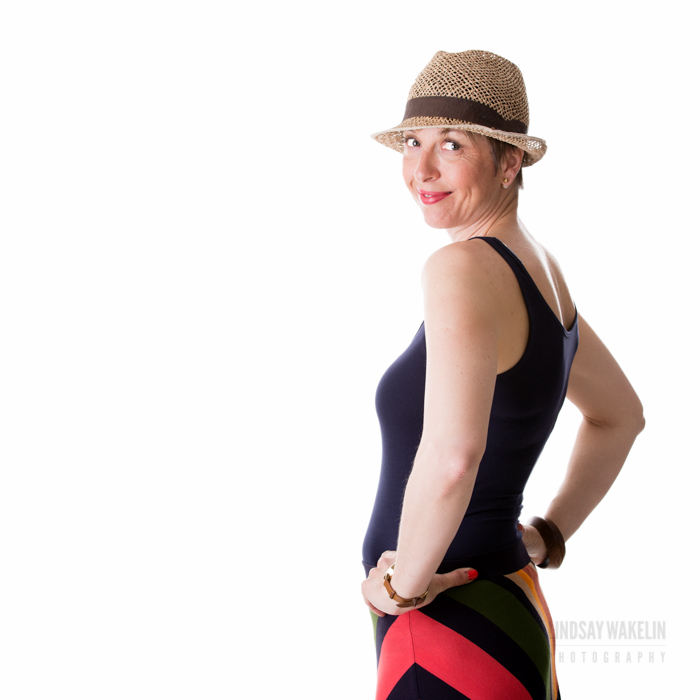
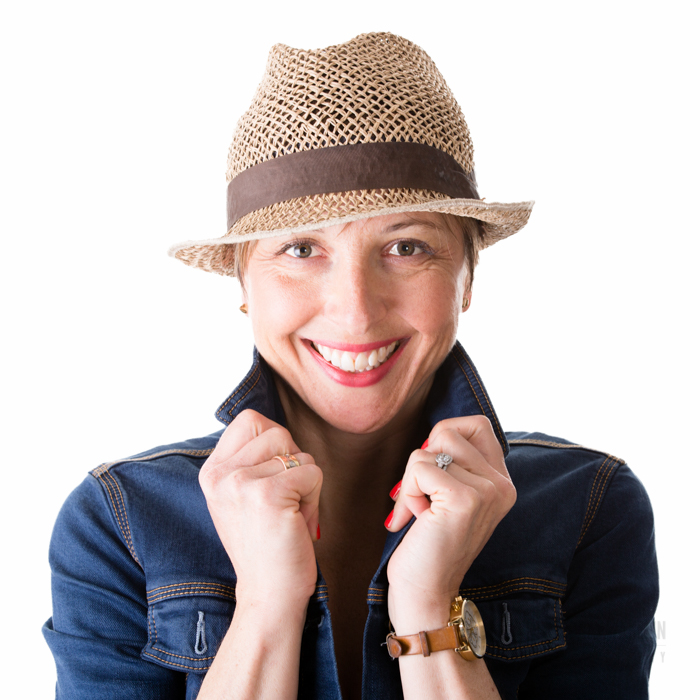
Thomasin is an image and style consultant who is based in Essex but works with clients all over, she wanted some images of herself to use on her social media and website which showed a mixture of themes from the classic smiling head shot to her playing around with different styles and looks to tell a bit of a story about what it is she does for others. Please read more about her here and find out how she can help you to ‘look good and feel great’.
