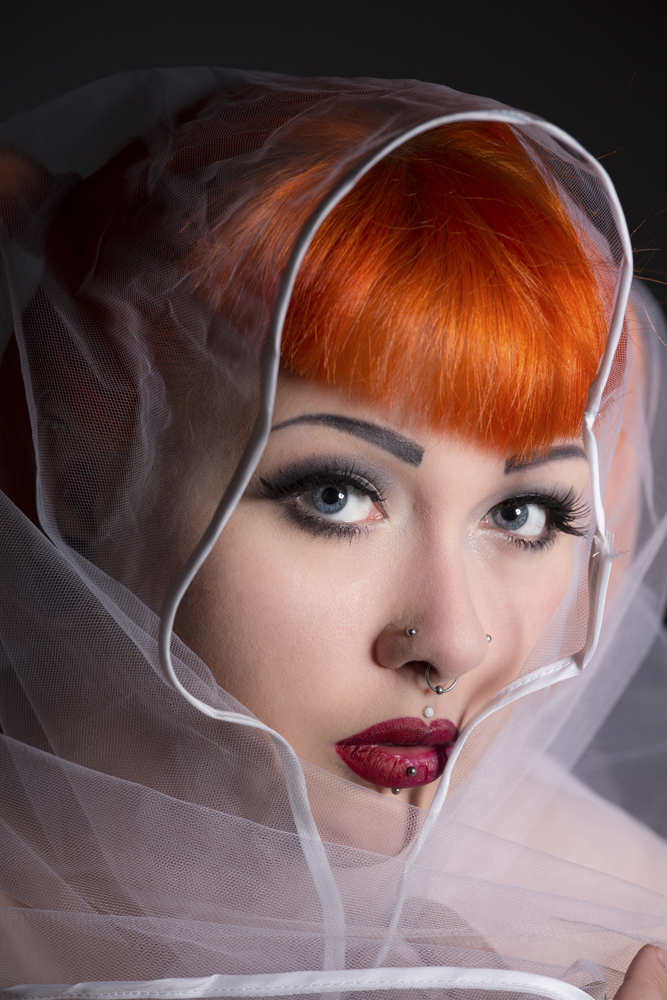
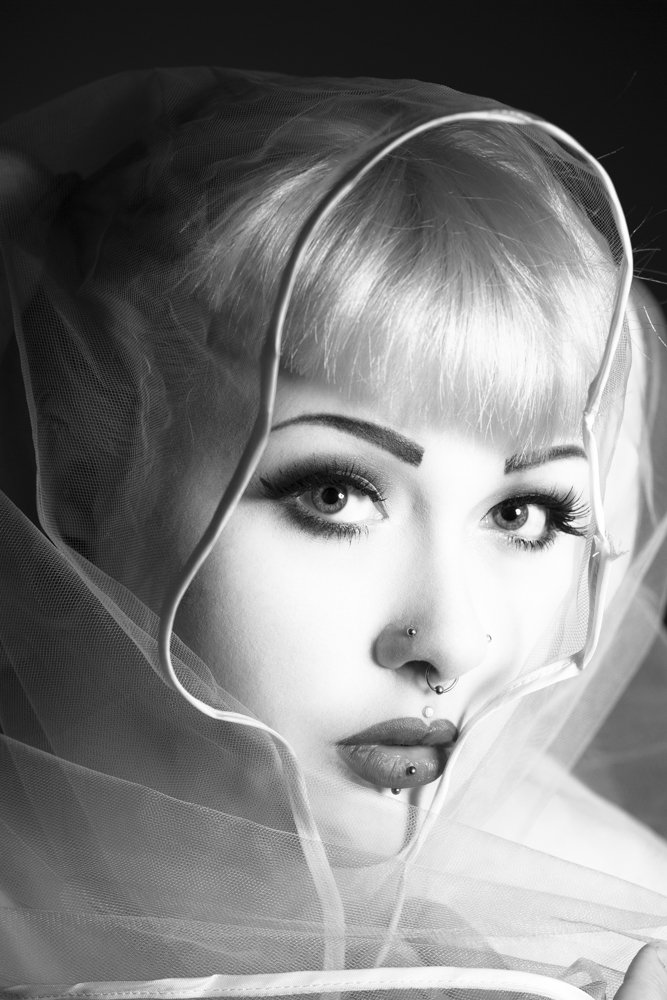
One daughter, a vape one fan and one light
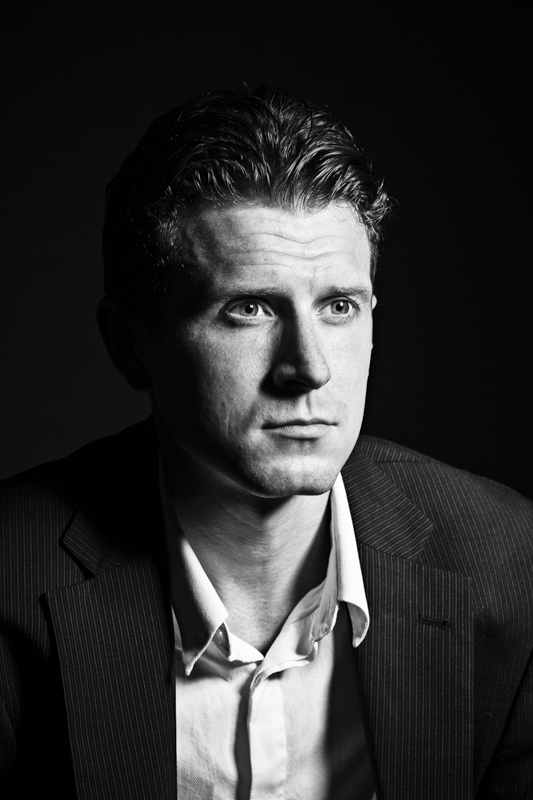
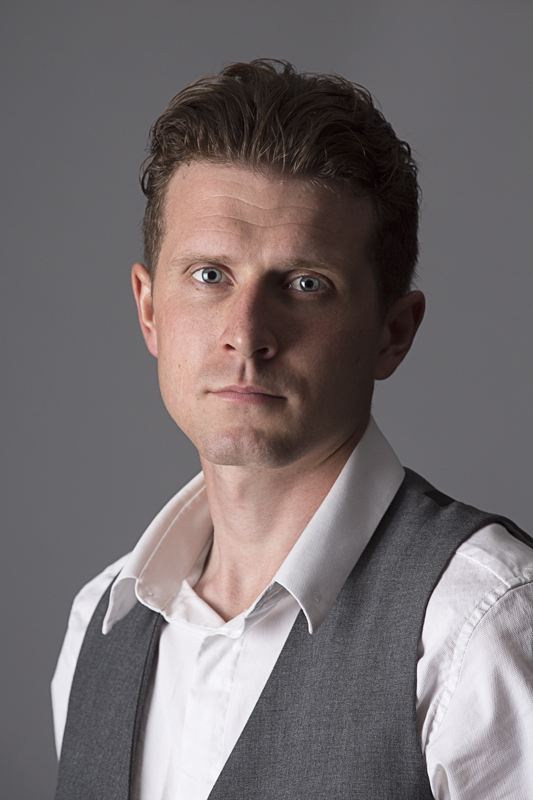
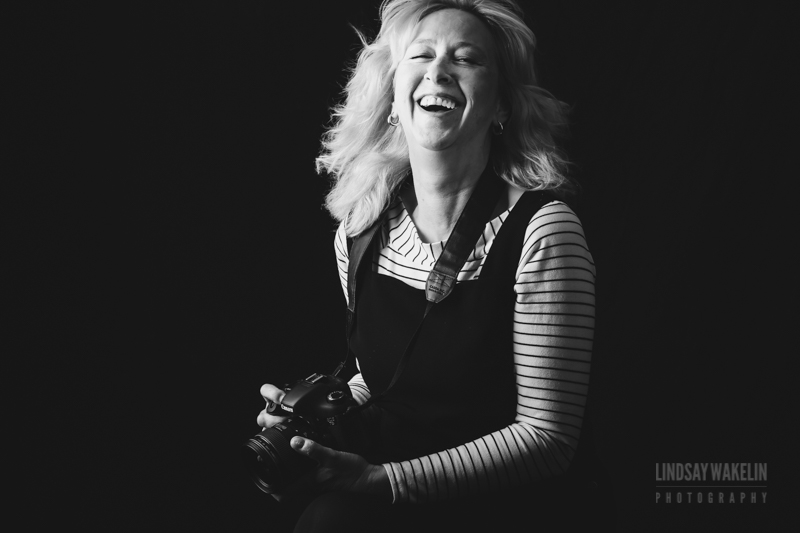
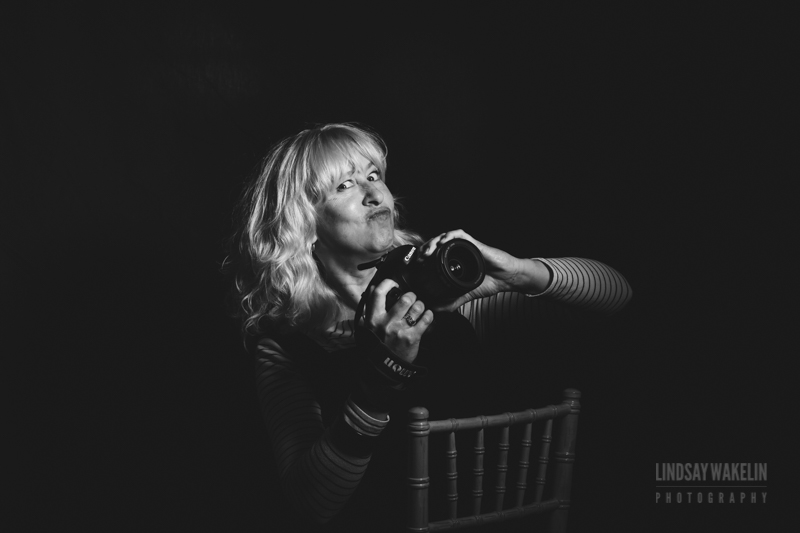
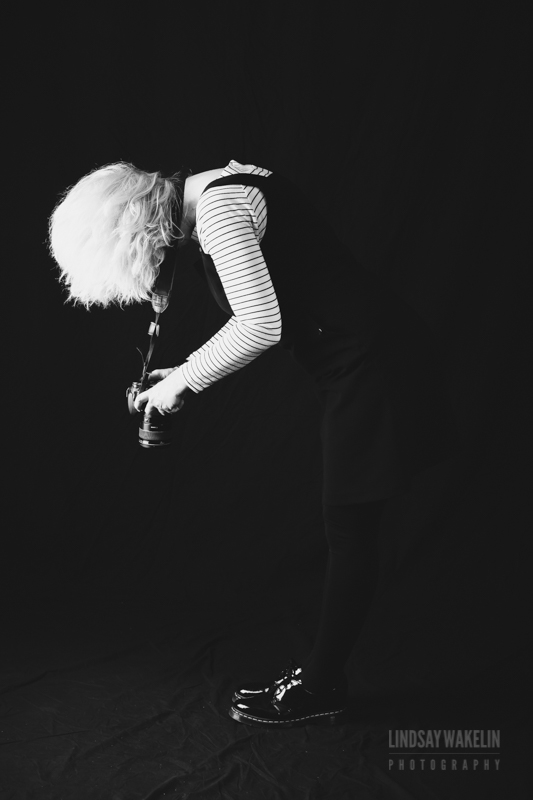
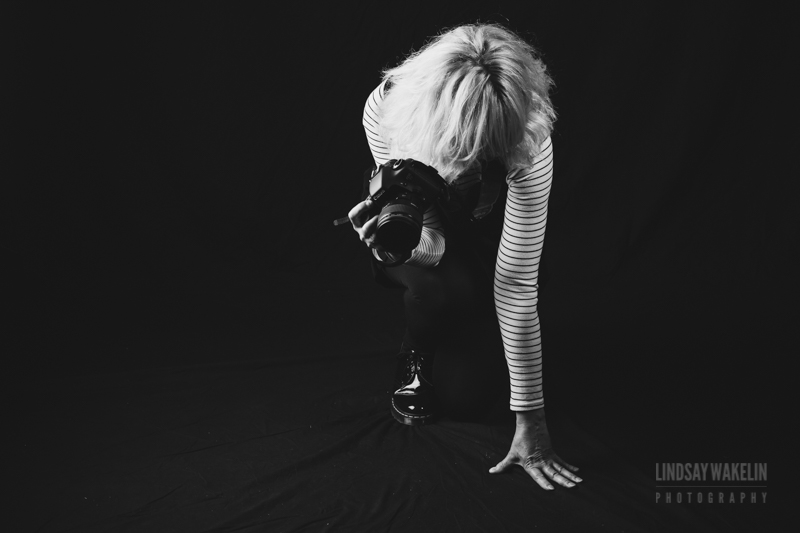
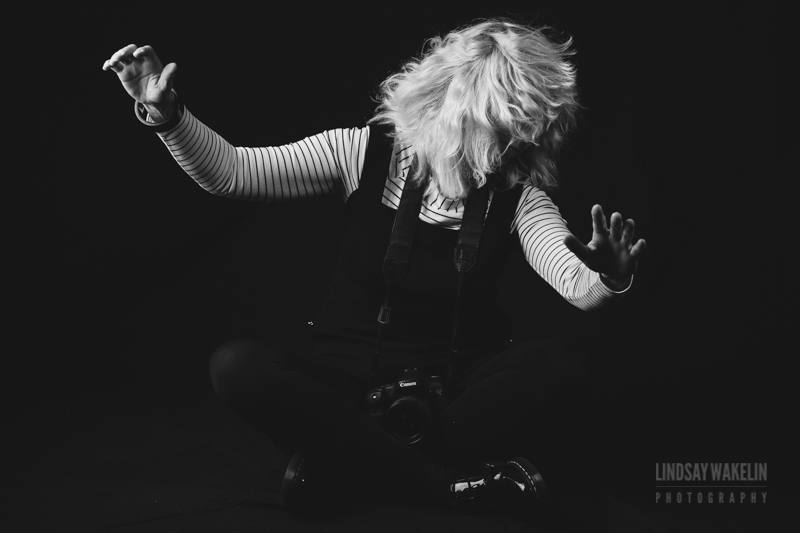
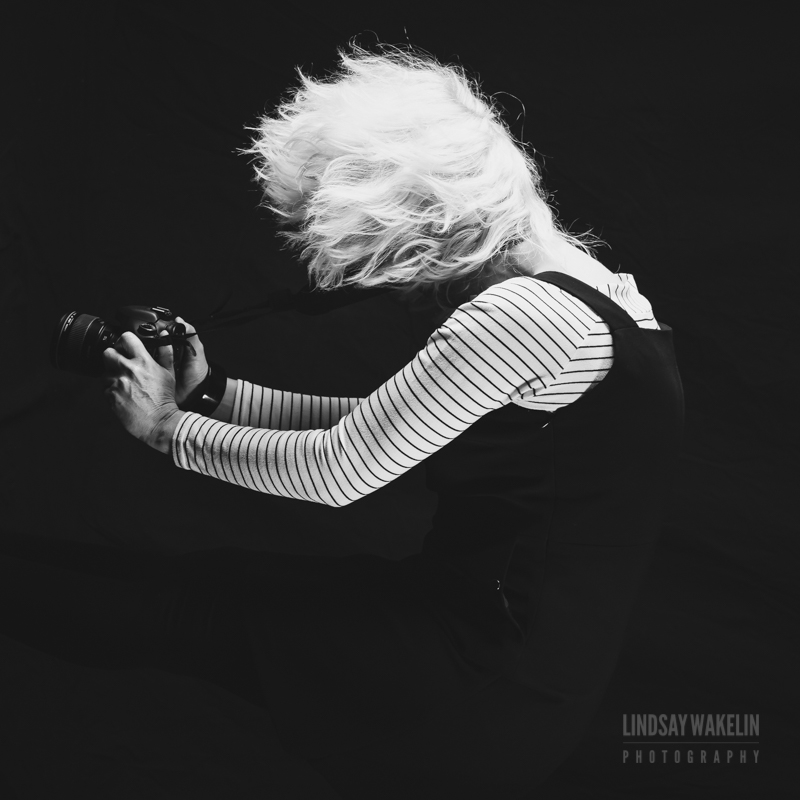
Sometimes I get so caught up with working and doing Photography for other people I forget to take time out to just be playful, get creative and experiment with ideas. I have decided that I need to do this more than I have been, so with the help of my daughter ‘Hope’ we are going to plan some creative shoots. Here are a few from today, I just wanted to start simple and take some time to experiment with light and darkness, shape and form. We used a black backdrop, one light sometimes a piece of white card (as a reflector) a fan and a vape! As is often the case with Photography sometimes the unplanned shots are more interesting than the shots you intended to take so I included a few below.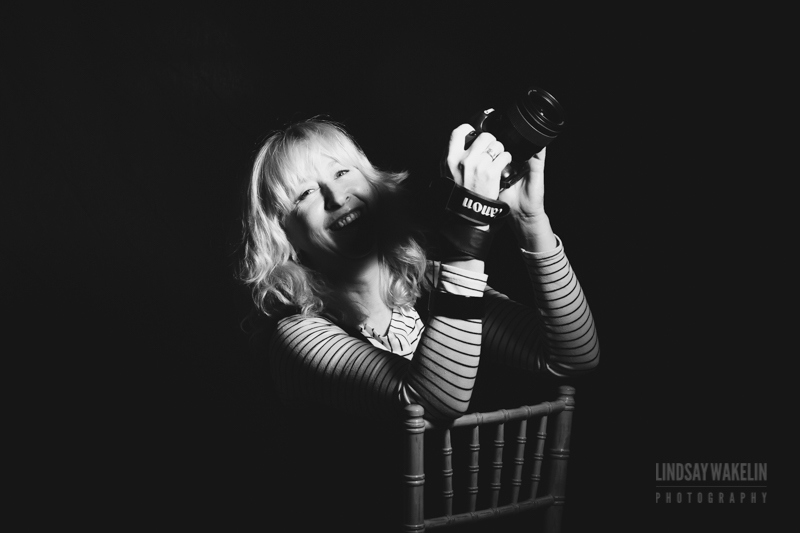


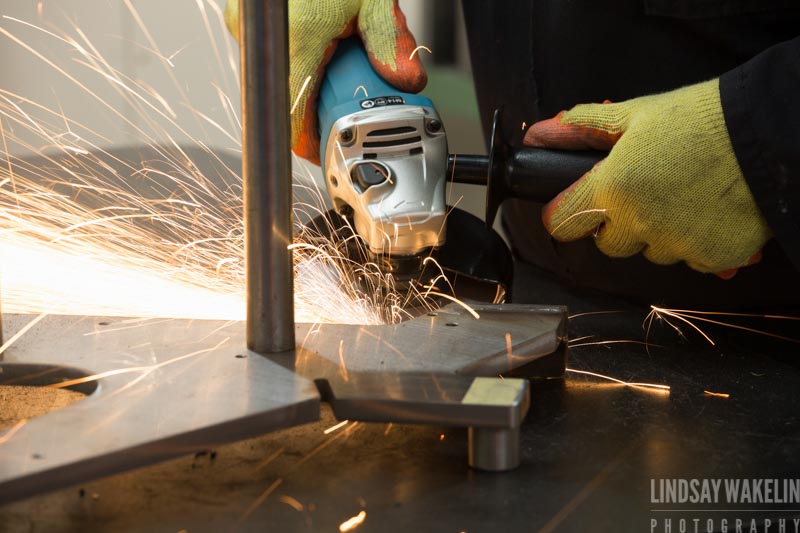
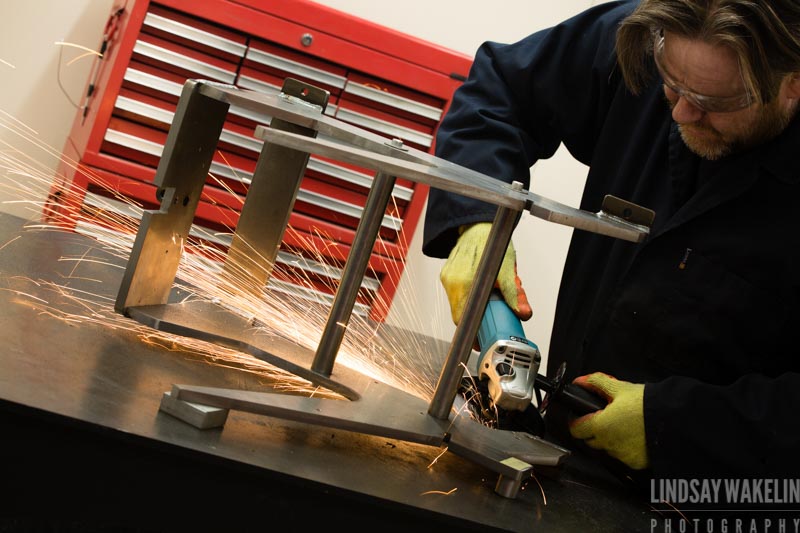
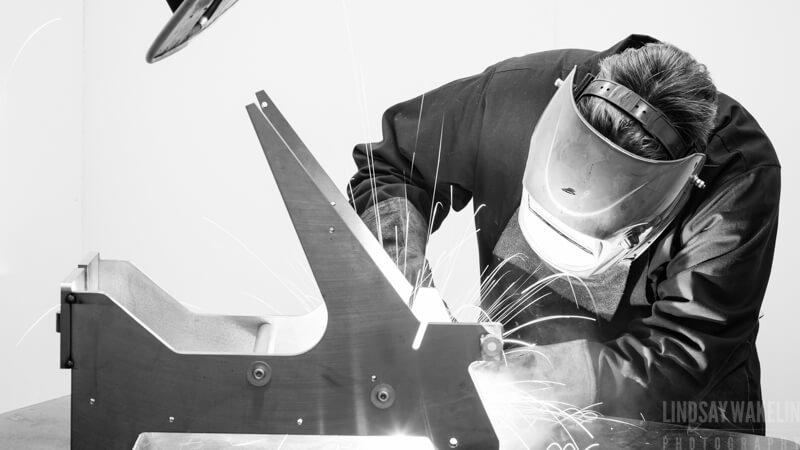
How I went about photographing Arc Welding
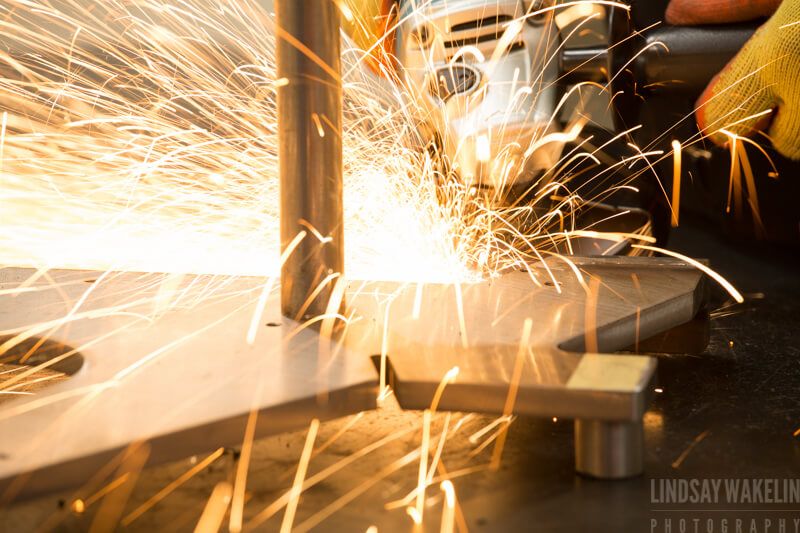 The three main issues for me were 1) How do I photograph welding and metal grinding without making myself blind?? 2) Would the welding damage my camera sensor? 3) What settings would I need the camera on to get the dramatic shots I am after?
Looking online I couldn’t find too much clear info on taking shots of Welding, there were lots of conflicting views but the strong message was protect your eyes looking directly at the welding would cause damage to your sight. From what I could find out it seemed that my camera sensor would be okay, so shooting remotely seemed like the best option. I often use tethered shooting for shots in my studio but hadn’t had experience of using software to control the camera setting from my laptop. My Canon 5DmkIII came with a disc which I have never used as I just thought it was mostly stuff which I didn’t need but it provides a utility to shoot remotely. So after a little rummaging about in my messy cupboard I found the box which still had the disc in and loaded it onto my laptop.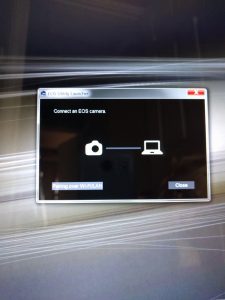
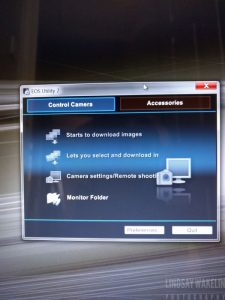
I won’t go into detail about using the EOS Utility 2 as it is very self explanatory, if you have got a canon camera its well worth having a play with. In a nutshell it means I could set my camera up on a tripod in front of the welding (not too close as I didn’t want my camera to get damaged by any flying hot sparks) use a tether lead one end which plugs into the camera and the other has a USB to plug into the laptop and I can control most of the camera settings on my laptop and keep my eyes safe behind a partition and take the pics by viewing what my camera sees on my laptop screen.
I needed to find a light source to experiment with and decided Sparklers would do the job. Tesco sells small party Sparklers in it’s party section so I thought that would give me a good idea on a smaller scale. So the night before the shoot I took some time to set my camera up on a tripod, plug in the tether lead and start up the EOS Utility2 on my laptop before lighting the Sparklers. 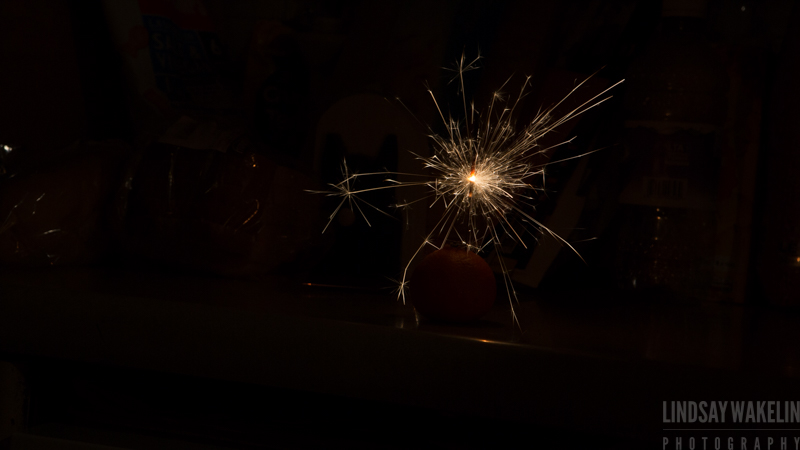
The first image above was when I began shooting before the sparkler had really got going. I set my camera to 1/5th of a second F11 and decided to put the ISO on 500, I was going to have the ISO adjust automatically so I had once less thing to worry about but soon realised the camera automatically bumped it up high and I ended up with noisy images.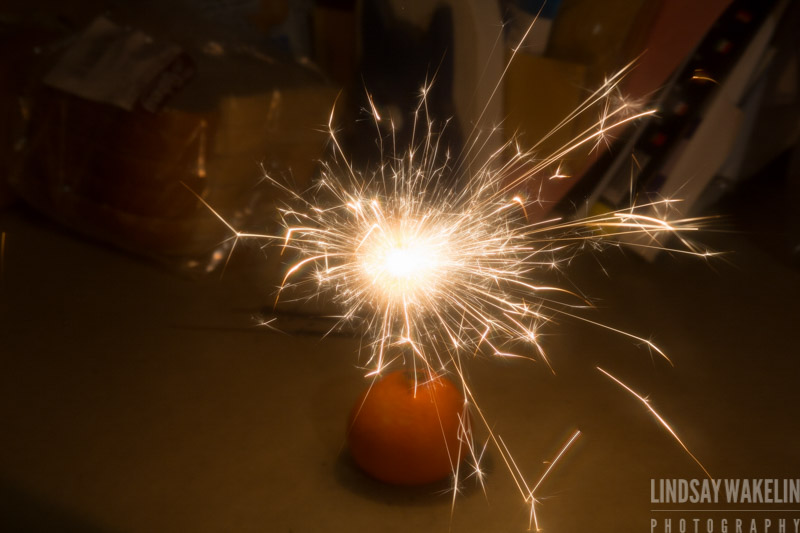
The second image I tried a radial filter only because I have never used it and wondered what results it would give me but felt the glow was two strong in the middle of the image I liked how it softened the background but not right for the shot I had in my 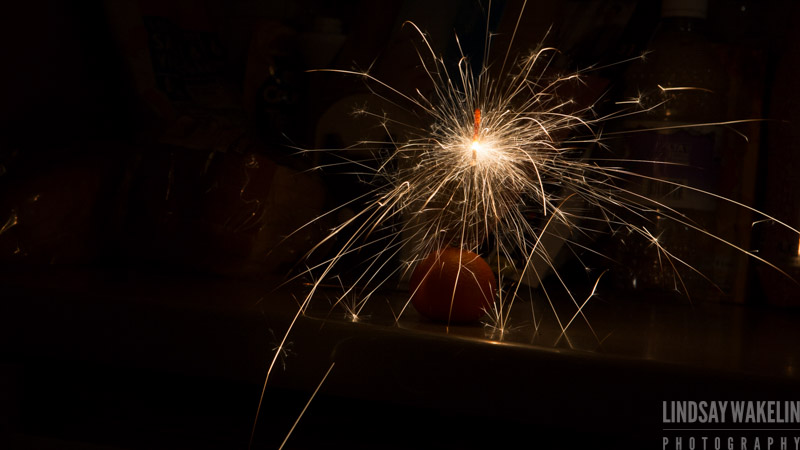 mind.
mind.
The third image was using a adjustable gradient filter to darken the image and I was also thinking it might provide some protection for my lens eek!
So a few hours later I felt happy, having used the remote EOS Utility 2 I found I could focus in on what I wanted to using my laptop screen, I could control my speed, aperture and ISO from my laptop and I could do this from a few metres away with my back to the camera!
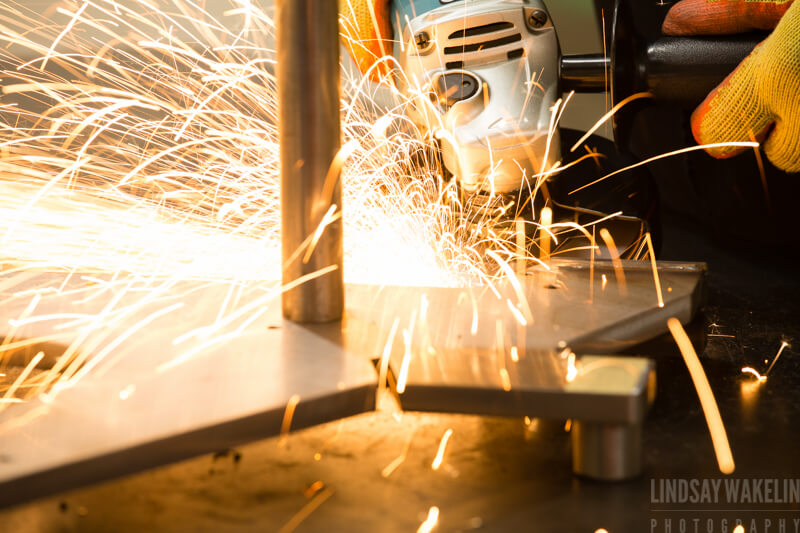
On the day of the shoot I started with taking my shots with my camera set up on a tripod using my 24-70mm lens with an adjustable gradient filter on which I twisted a few stops to darken the scene. I set my camera to 1/5th of a second F11 and would adjust if I needed to once I had taken few shots. I shot the first round of images and stopped to see what we had which was useful as my client and the Welder could also look which helped them to understand what we needed to adjust to get the composition right. It did feel a bit like magic taking pics from my laptop and I was surprised at how well it worked.
The downside of shooting this way means you cannot move around your subject and you can’t zoom in and out or change the camera angle, you have to stop to adjust the camera. I also found there is a few second delay on the images uploading so I wanted to shoot a zillion shots whist all the action was happening but you do have to go by the speed of your camera, the tether and your laptop uploading the images. Here are a couple of shots taken on the day…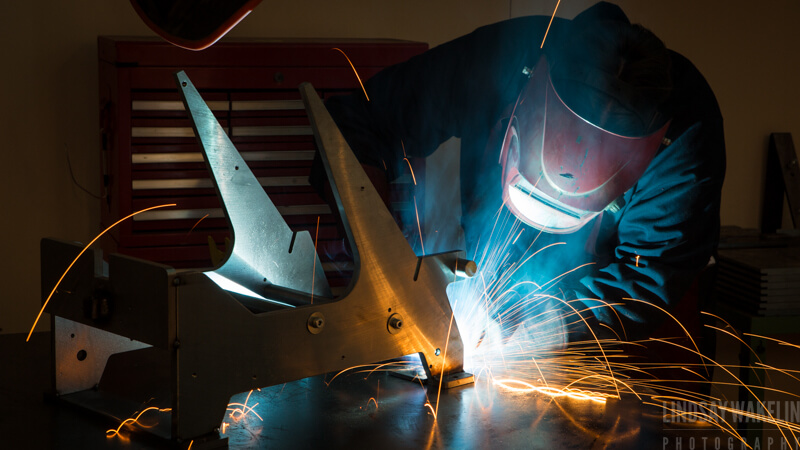

What is Boudoirvous?
It’s something Brides asked me about when I used to do a lot of Wedding Photography. You see many women spend a decent amount on their wedding lingerie and like the idea of creating images to give to their fiance on the day of their wedding as a personal gift.
Since then I have women of all ages, all shapes and sizes come to my studio or I have visited them in a hotel room to take pics. Why does that sound seedy? I don’t want people to think it is seedy, I want people to understand Boudoirvous is not about sensationalising or exploiting women it’s about liberation, expression and freedom. A lot of my clients say they feel feel a new sense of confidence when they leave the shoot excited to see the final images.
I am female, and I am middle aged with all the lumps and bumps of life, I get it! I get that most of us want images that show us at our best, none of us want our squidgy bits exposed we appreciate careful lighting and some advice with what to wear and how to pose.
Some women like the idea of buying a new outfit having their hair and make-up professionally styled and then having a photo shoot others like to dress in lingerie or some go the ‘full monty’ as they want to create beautiful fine art style images in black and white.
That’s one of the things I love the most about Boudoirvous that is it so personal and unique there is no right or wrong way, everyone brings their own ideas along to the shoot.
Please visit my Boudoirvous site if you would like to find out more.
Gift vouchers are available.
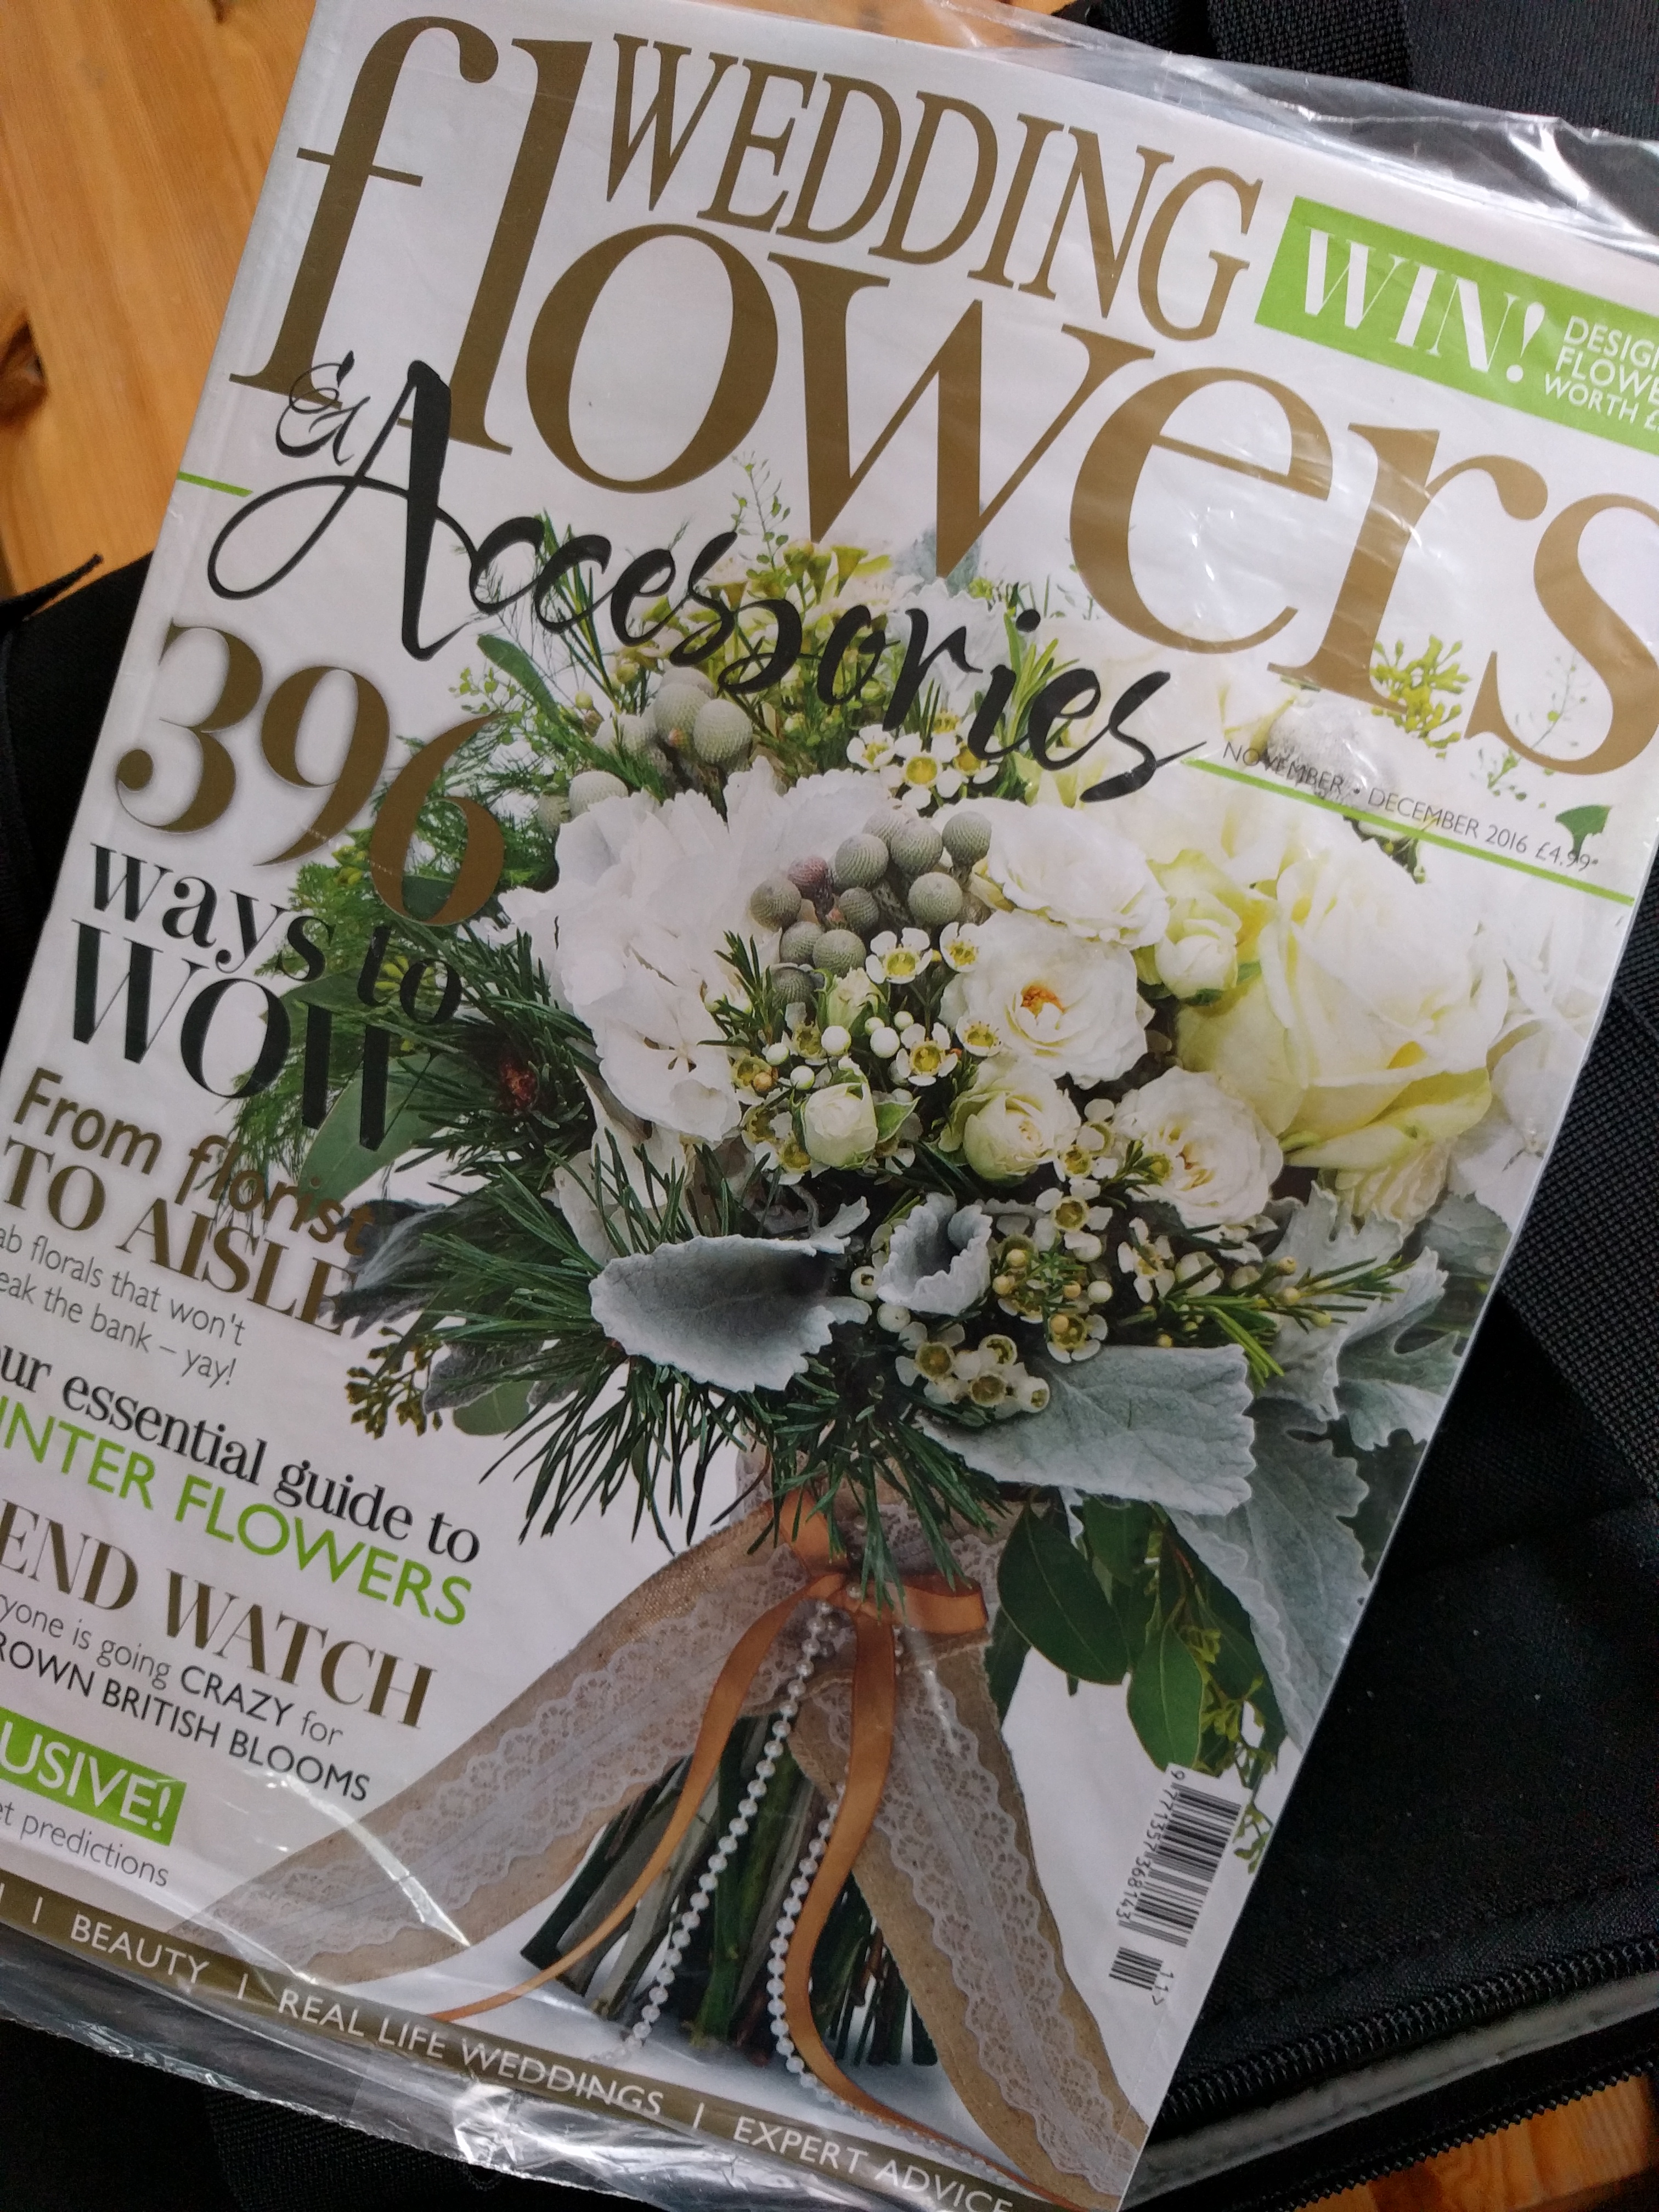
Wedding Flowers & Accessories Nov/Dec Issue is out.
So lovely to receive my copy of Wedding flowers & Accessories Magazine with my flower pics on the front cover and the flower book at the second half of the mag.
http://www.weddingandweddingflowers.co.uk/inside-wedding-flowers-magazine
Portraits of Tim Andrews – Over The Hill Project
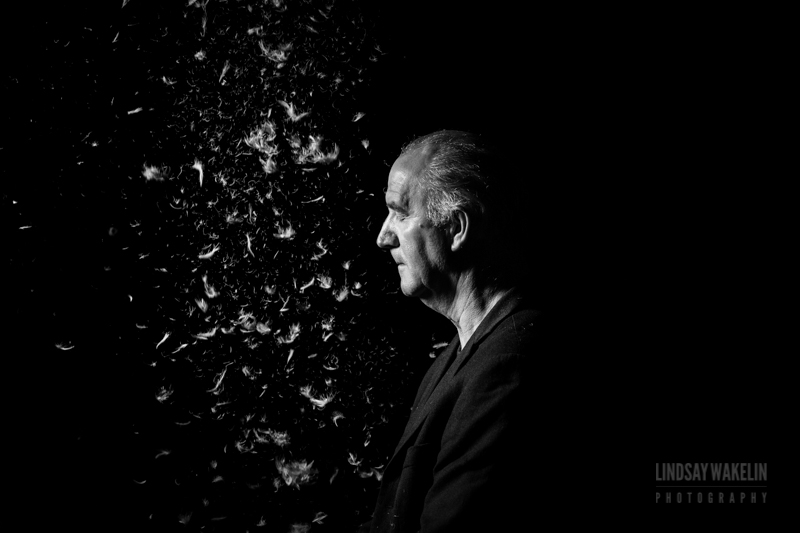
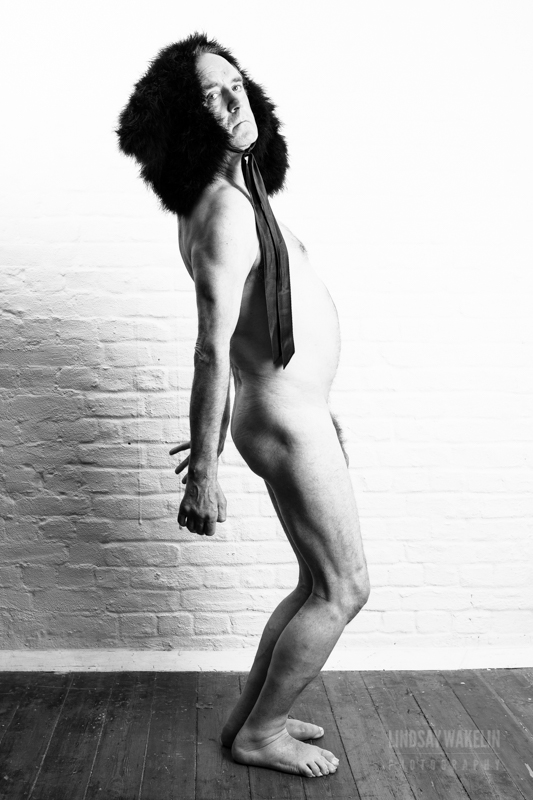
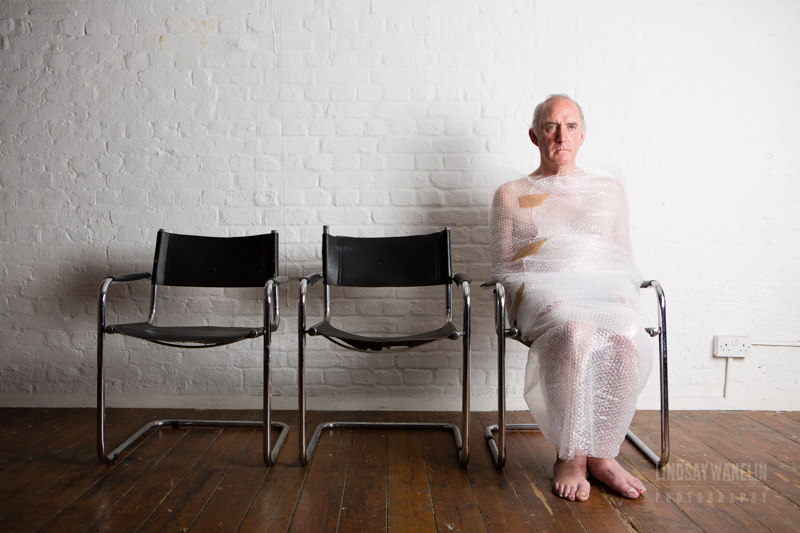
I first photographed Tim a few years ago for his Over The Hill project , I was delighted when he agreed to another shoot last week. Tim who has Parkinsons Disease started ‘Over the hill’ in 2008 and over the last 8 years he has been Photographed by over 400 Photographers. When I received an email to say that he was wrapping up the project I emailed him straight back and asked if he would be interested in posing for me again.
It’s rare as a Photographer to have the opportunity of someone offering to pose to be completely open minded and flexible, Tim is such a great sport an artist in his own right he is such a charming interesting person to spend time with. I wanted to explore my ideas around visually framing images of fragility and vulnerability he soon wrote back, “Dark, moody, feathers, eggs, naked, bubble wrap??? Are you kidding? Of course l am up for it!!!”
Tim Andrews- Fragile 3
Experimenting with Twitter video
I tried doing a bit of video directly through twitter the other day, this is Thomasin Newton at my studio she is a colour and fashion stylist. We are working on a new exciting venture together so I got her just to chat briefly to me about accessories so I could try out the video. It actually turns out that it doesn’t appear in my gallery on my phone but on my PC I was able to copy and embed the code to my blog, so I will definitely try using it again in the future.
To find out more about Thomasin check out her website here
Working with fab stylist Thomasin @thomasin3 Thomasin Newton Image & Style in the studio today #fashionstylist pic.twitter.com/w2Kaoye1GL
— Lindsay Wakelin (@Lindsaywakelin) May 12, 2016
